Guides

Usage Guides

Step-by-step guides to use Macro Handler professionally. Visually follow every stage from setup to your first macro.

Interactive guideLook up in-app help by the button nameEvery press-and-hold help topic in the app is searchable here, under the name the app uses. Pick an action to see what it does, how to use it and what to check before continuing. Newer screens such as the Logic Workspace, My Agent Routine and triggers are covered in the guides below.Open guide

Visual Academy

A step-by-step learning path for new users

The sections below show real app screens. Under each one you will find what to look at, which order to work in, why each setting matters and how to grow a macro safely.

No-code workspace: block, region, and result flow

On scan blocks such as Image you set the target image first, then the scan region, then the true and false branches.
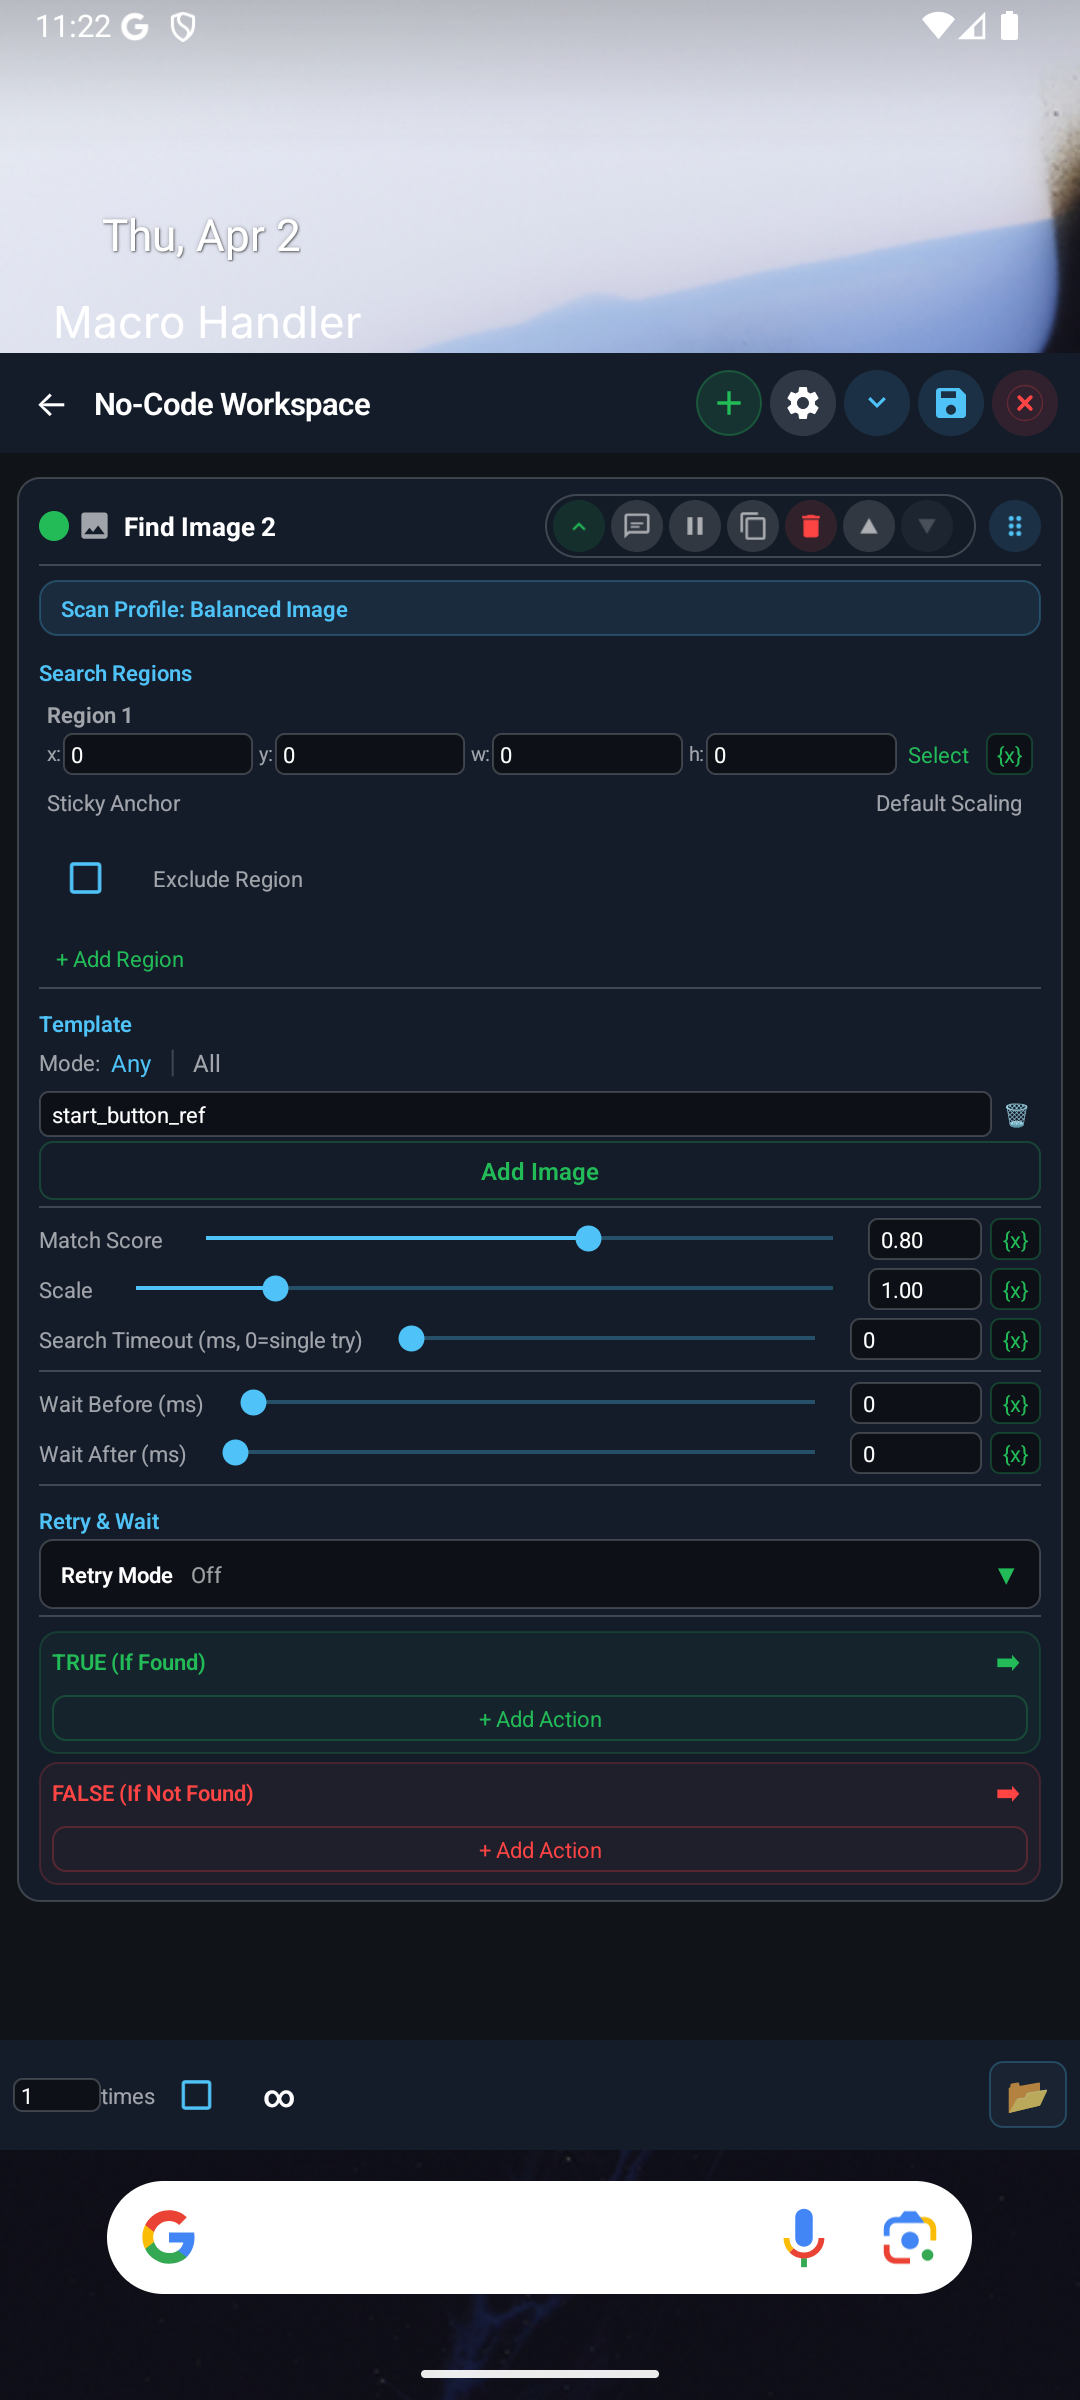
No-code workspace screen
  1. 1First inspect the target image and selected scan engine on the block card.
  2. 2Keep the scan region as tight as possible; wide regions reduce performance and accuracy.
  3. 3Treat TRUE and FALSE branches separately: action on found, wait or fallback flow on not found.

The same tight-region and controlled-timeout habit applies to the Text, Color and Moving Color scan blocks.
Code editor: API, snippets, and run discipline

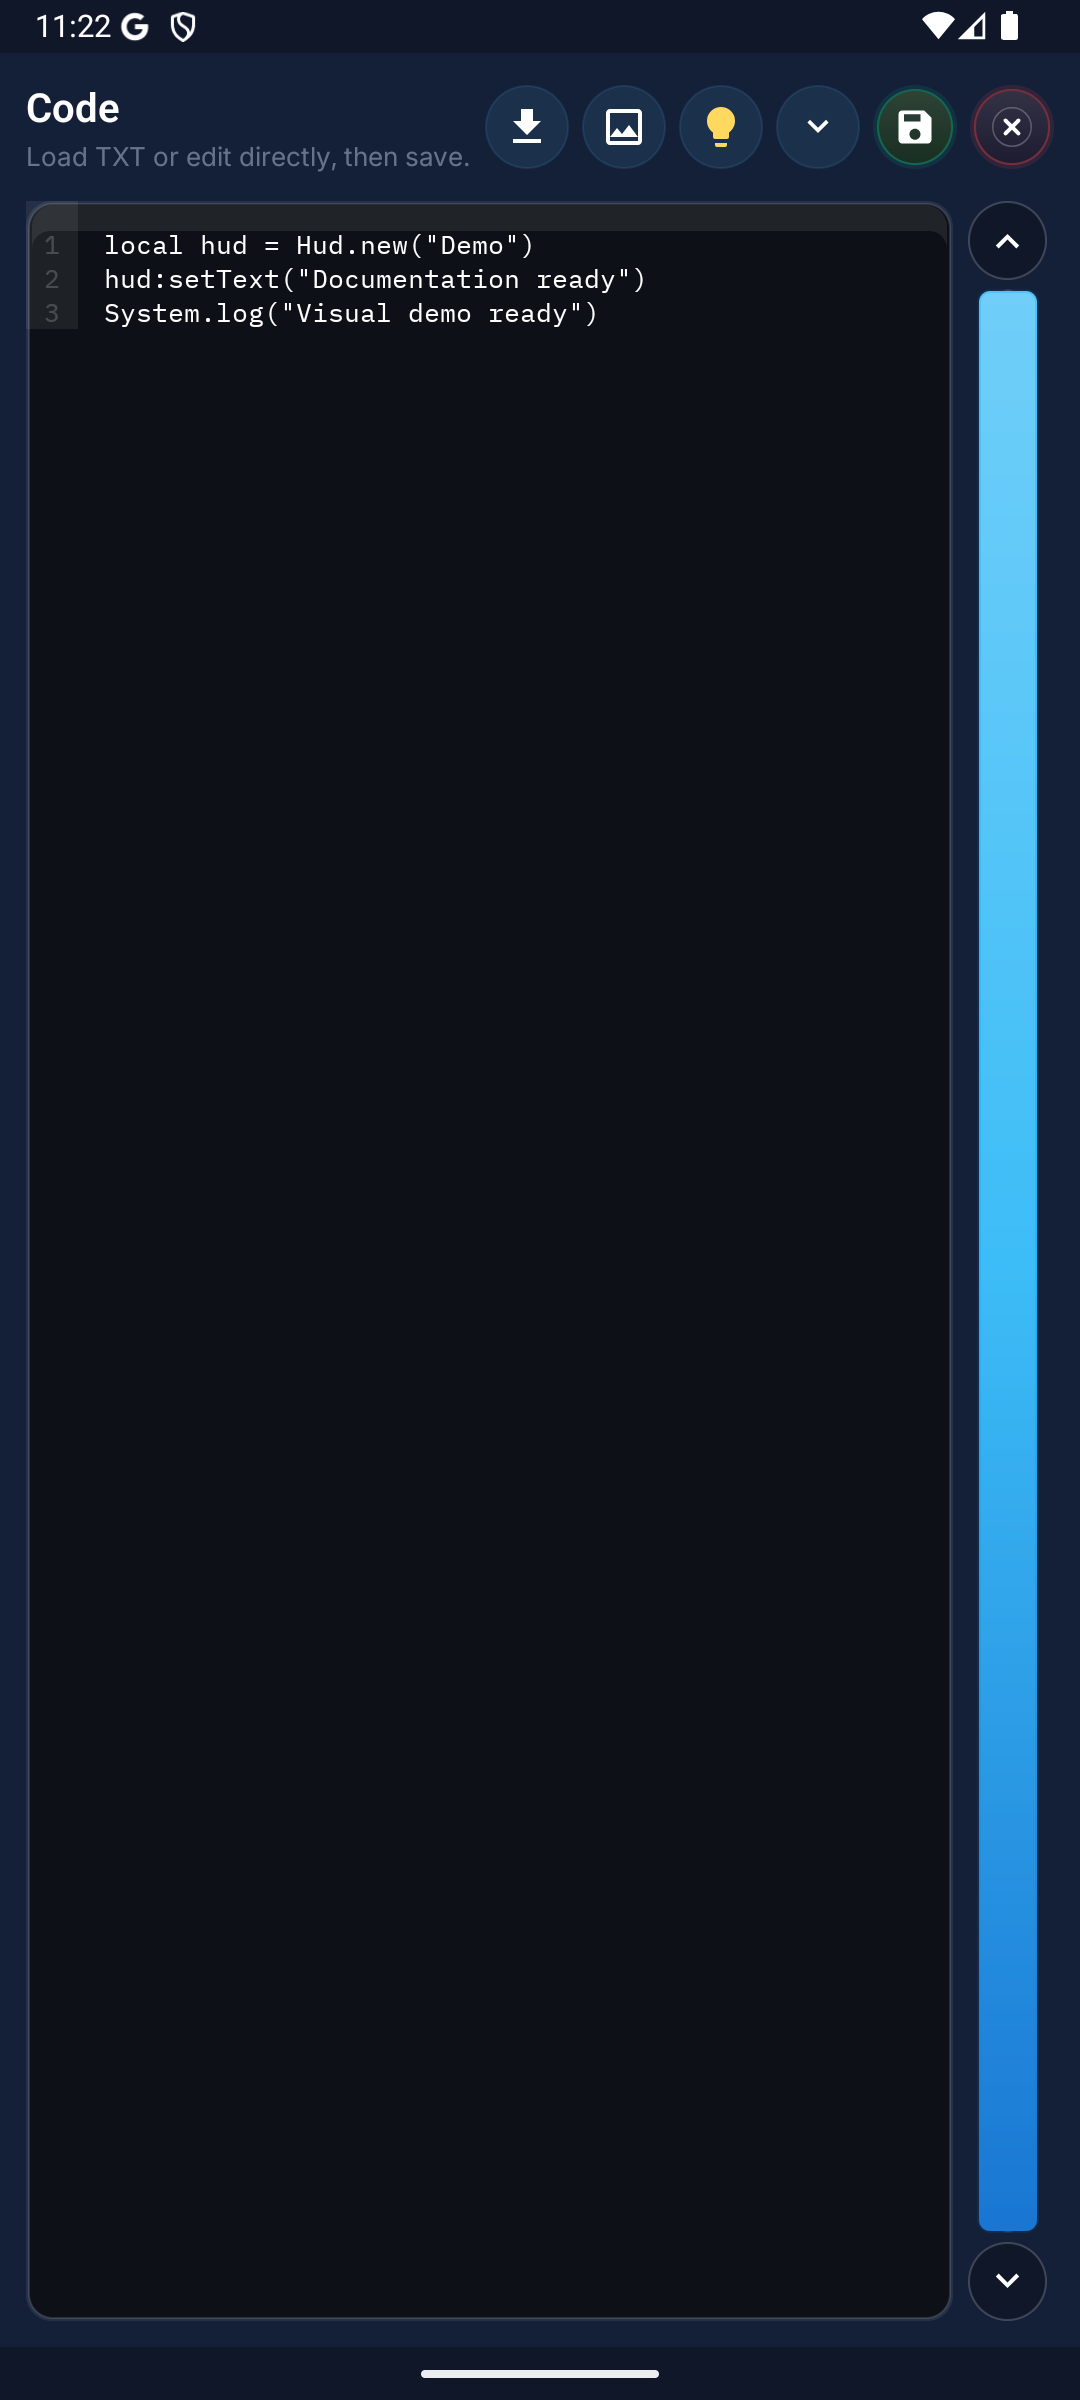
The code editor gets you started quickly with ready snippets, API examples and safe loop habits.

Code editor screen
  1. 1Learn where save, snippet, image, and run commands live in the toolbar.
  2. 2Write small, testable Lua sections first; use timeouts and error handling in long loops.
  3. 3Do not memorize API examples blindly; use Region, Asset, and quick tap flows by understanding the problem they solve.

Once screen refresh, Region, Asset and quickTap make sense, the API reference reads much faster.

Dialog and form area: collecting user input

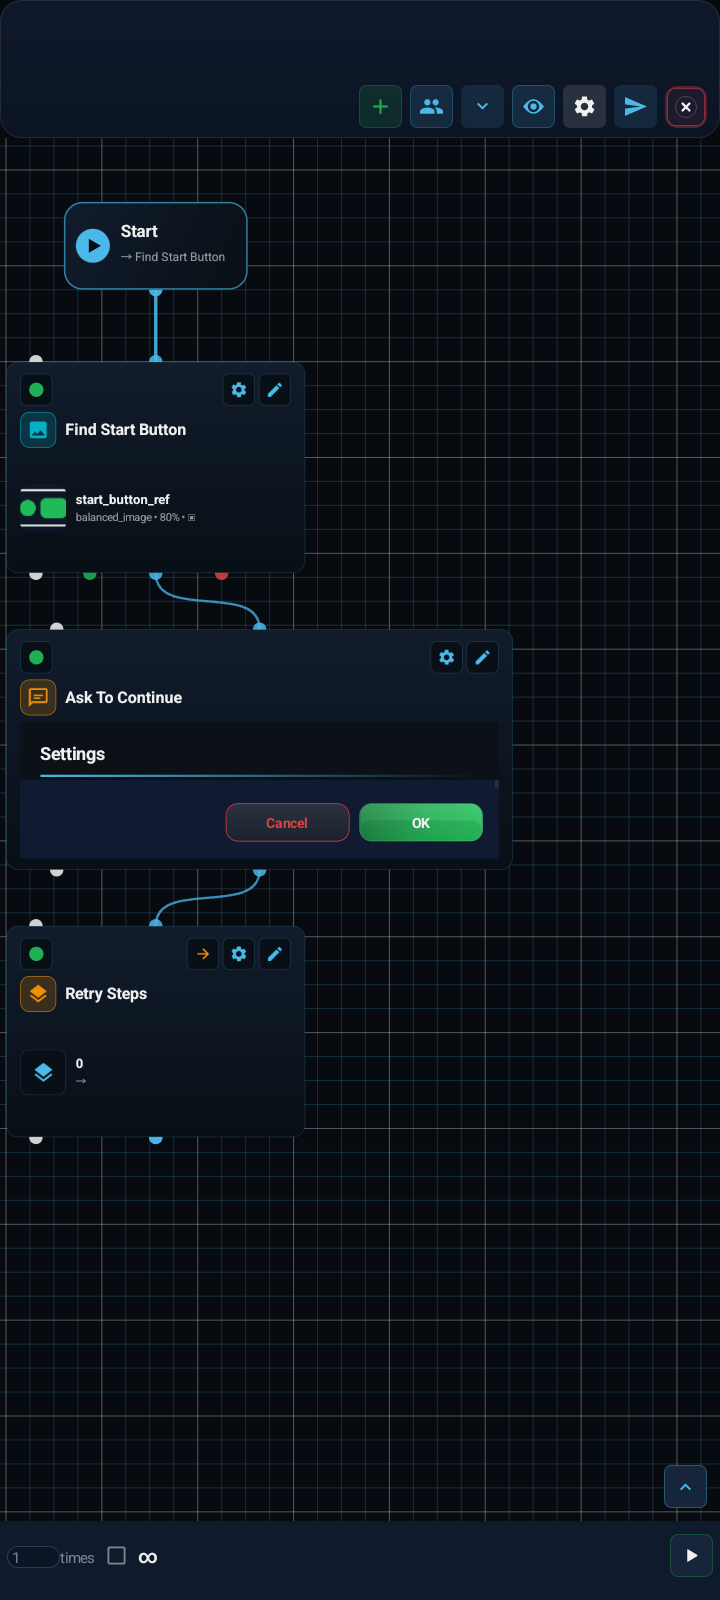
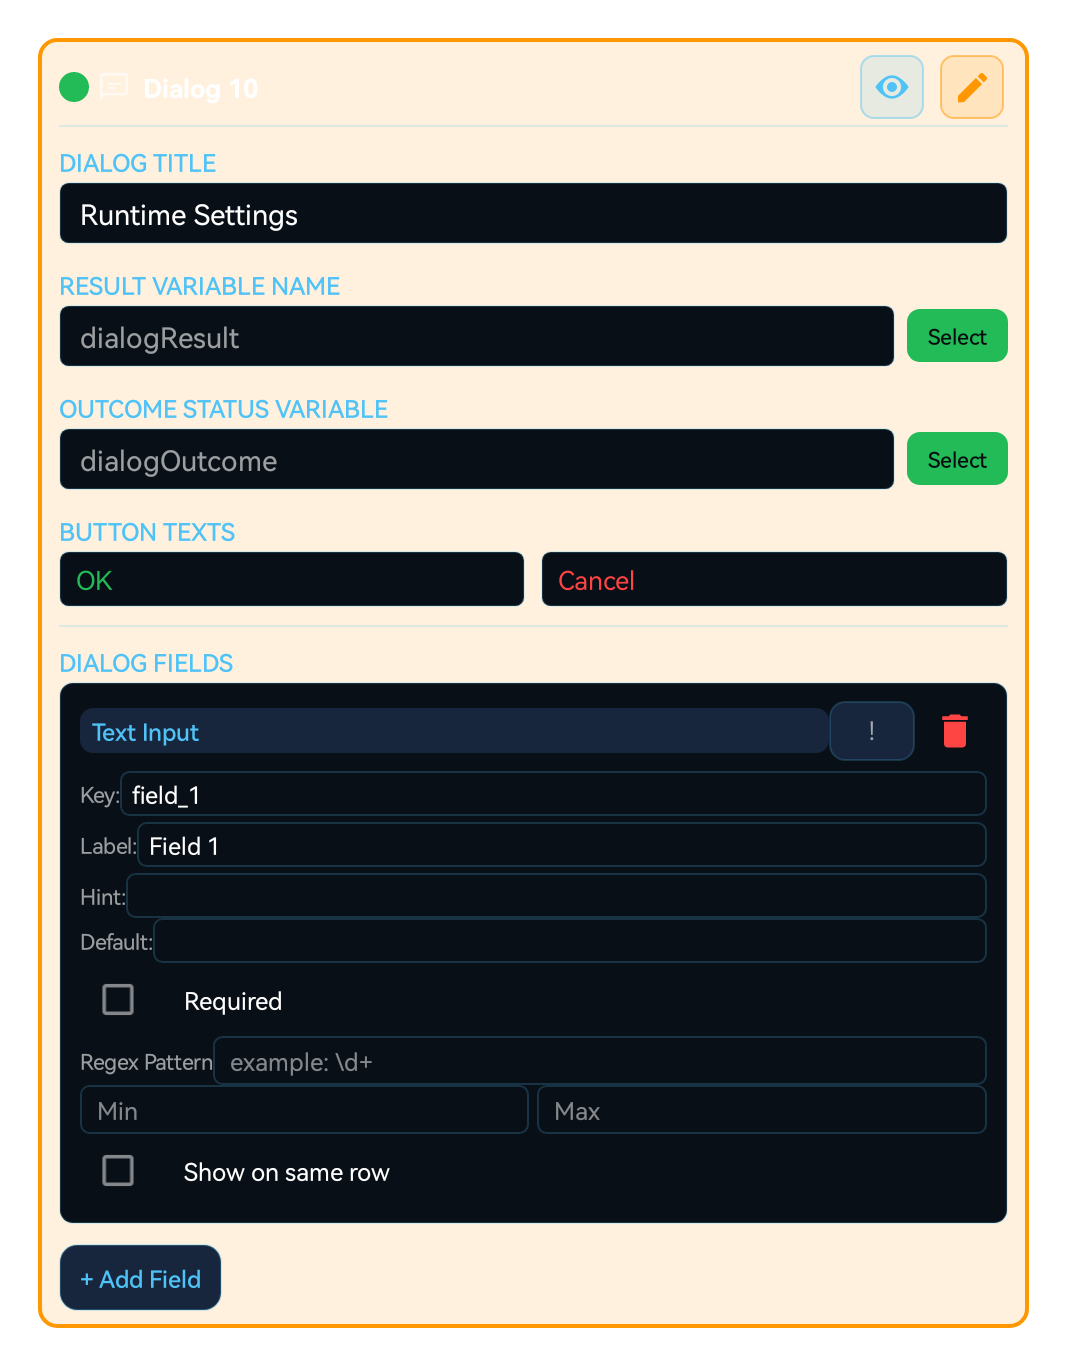
The Dialog block shows a form while the macro runs and passes the submitted values to the macro.

Dialog and form block screen
  1. 1Choose the field type first: input, checkbox, radio, image picker, and color picker do not serve the same purpose.
  2. 2Write short but clear help text for every field; the user must know why the value is needed.
  3. 3Compare preview with runtime output; check empty, invalid, and long-text states before pressing start.
  4. 4Use Field appearance → Button design to style each field; the same design is kept in the preview and the live dialog.

Dialog fields are runtime values that change how the macro behaves. To feed a field into another block, use the lightbulb on that block. Learn value binding

Newv1.0.51 Macro-start Dialogs keep the title and button texts you wrote, and field sizing and spacing match the preview. In landscape the button designer shows the preview on the left and the settings on the right; in portrait the preview sits above the settings. Open the Dialog block guide

Macro sharing: package, description, and trust

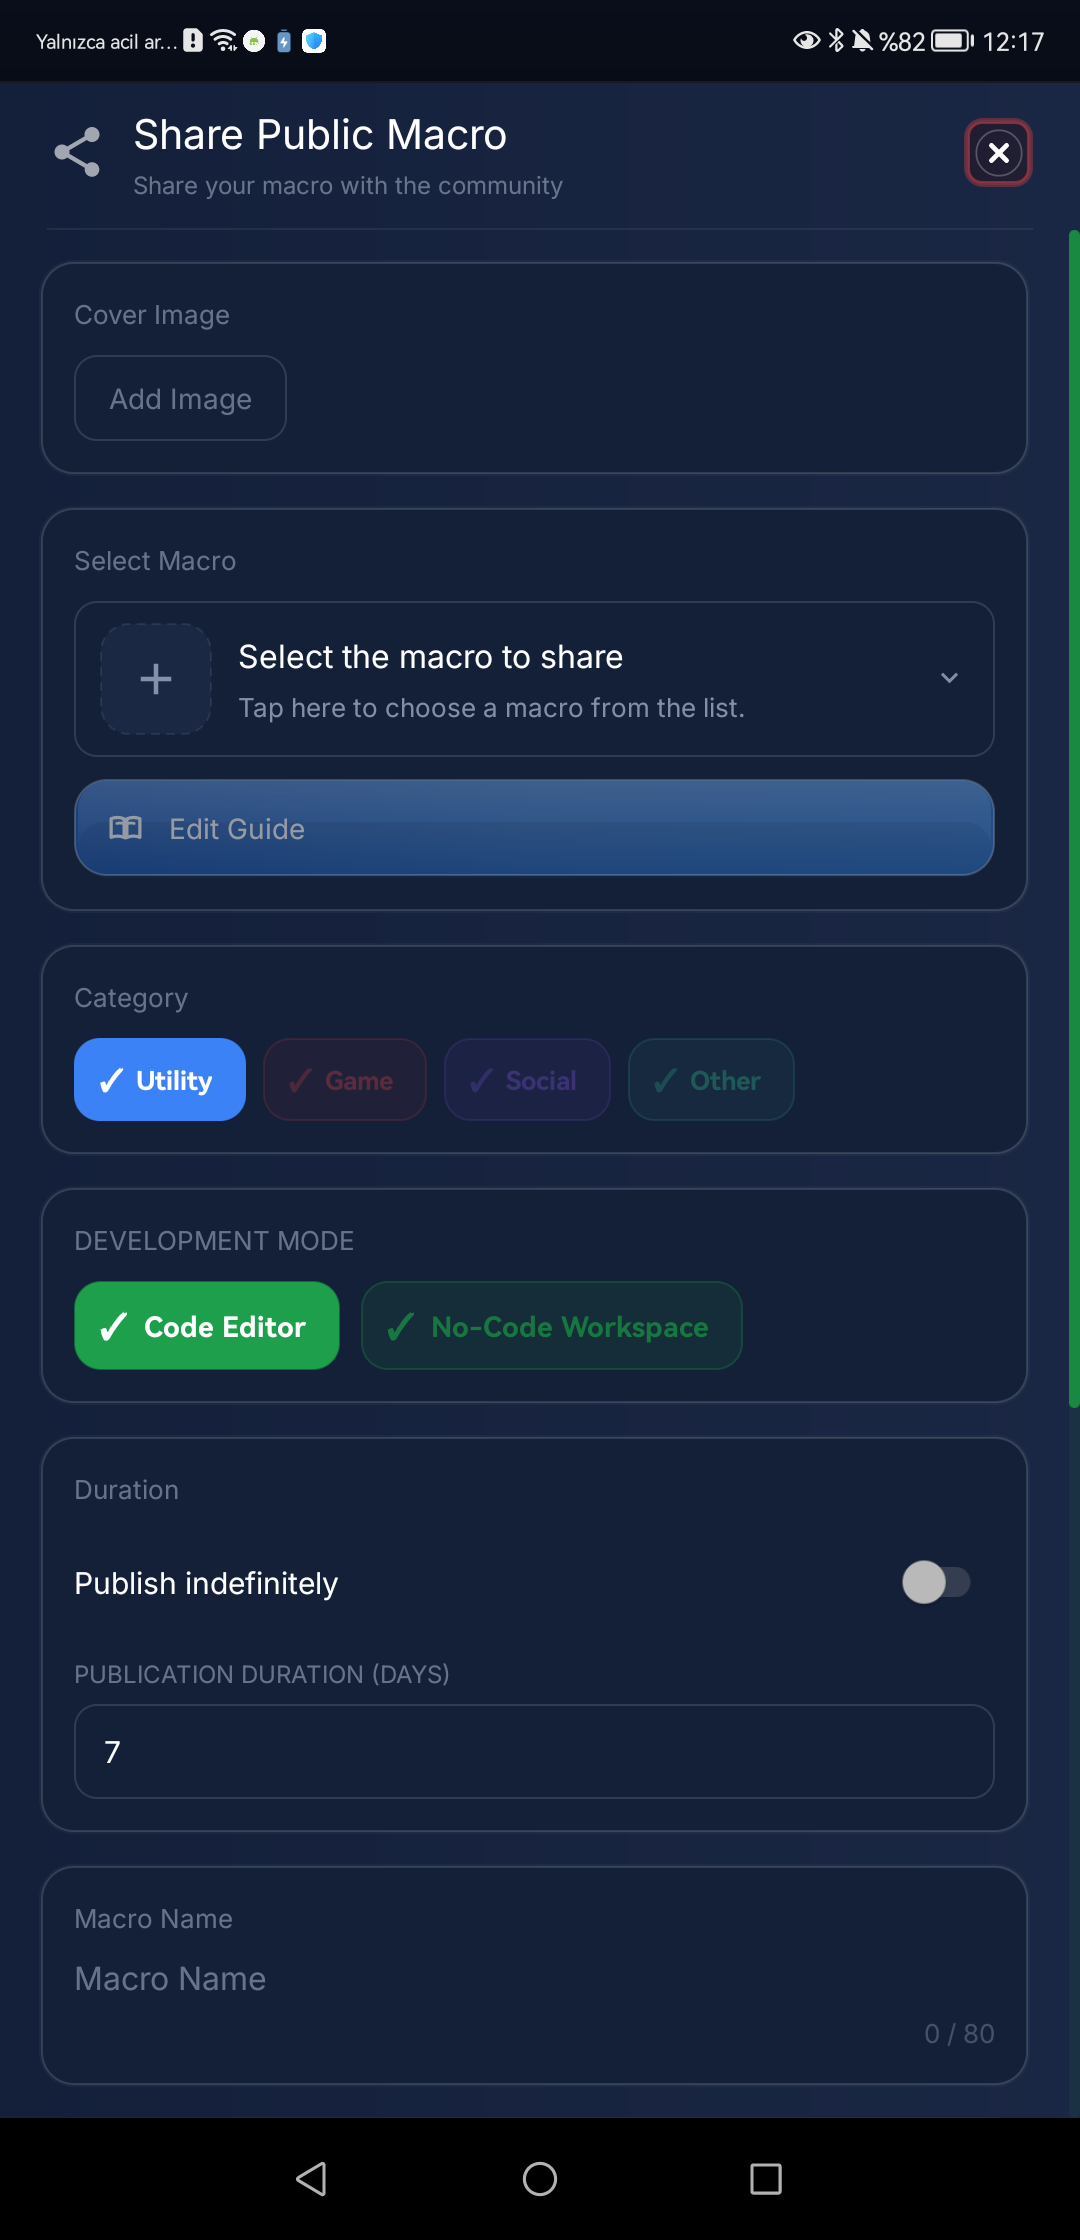
Before sharing, review the title, description, permission impact and community rules.

Macro sharing screen
  1. 1Write the macro name and description around the scenario; users should understand the purpose at first glance.
  2. 2Disclose permissions, external links, device dependencies, and risky actions before sharing.
  3. 3After publishing, monitor comments, reports, and update flow; community trust is part of macro quality.

The flow is simple: prepare the macro, write its safety notes, publish it and follow the feedback.

Variables, groups, and reusable flow

Complex macros keep state with variables, reuse steps with group blocks, and stay manageable through folders and macro organization.

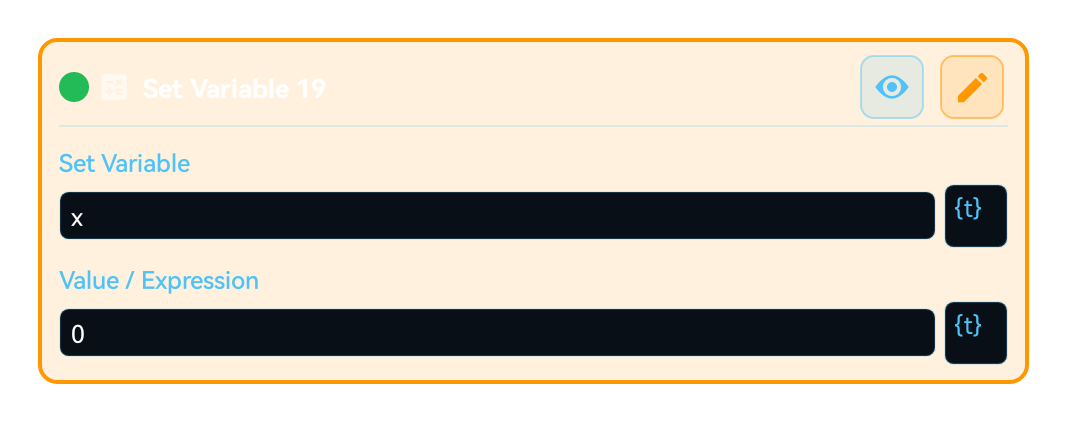
Variable block screen
  1. 1Choose a variable name that is clear for the scenario; it must stay readable inside groups and conditions later.
  2. 2Clarify the value type: number, text, boolean, and last-found coordinate are not used the same way.
  3. 3If multiple blocks read the same value, reduce repetition with groups and keep the macro maintainable.

When a small macro grows, define the variables first, move repeated steps into a group and run that group under different conditions with the Call Group block. Long block chains then stay readable and easy to maintain.

Forum and community area: learn, ask, share

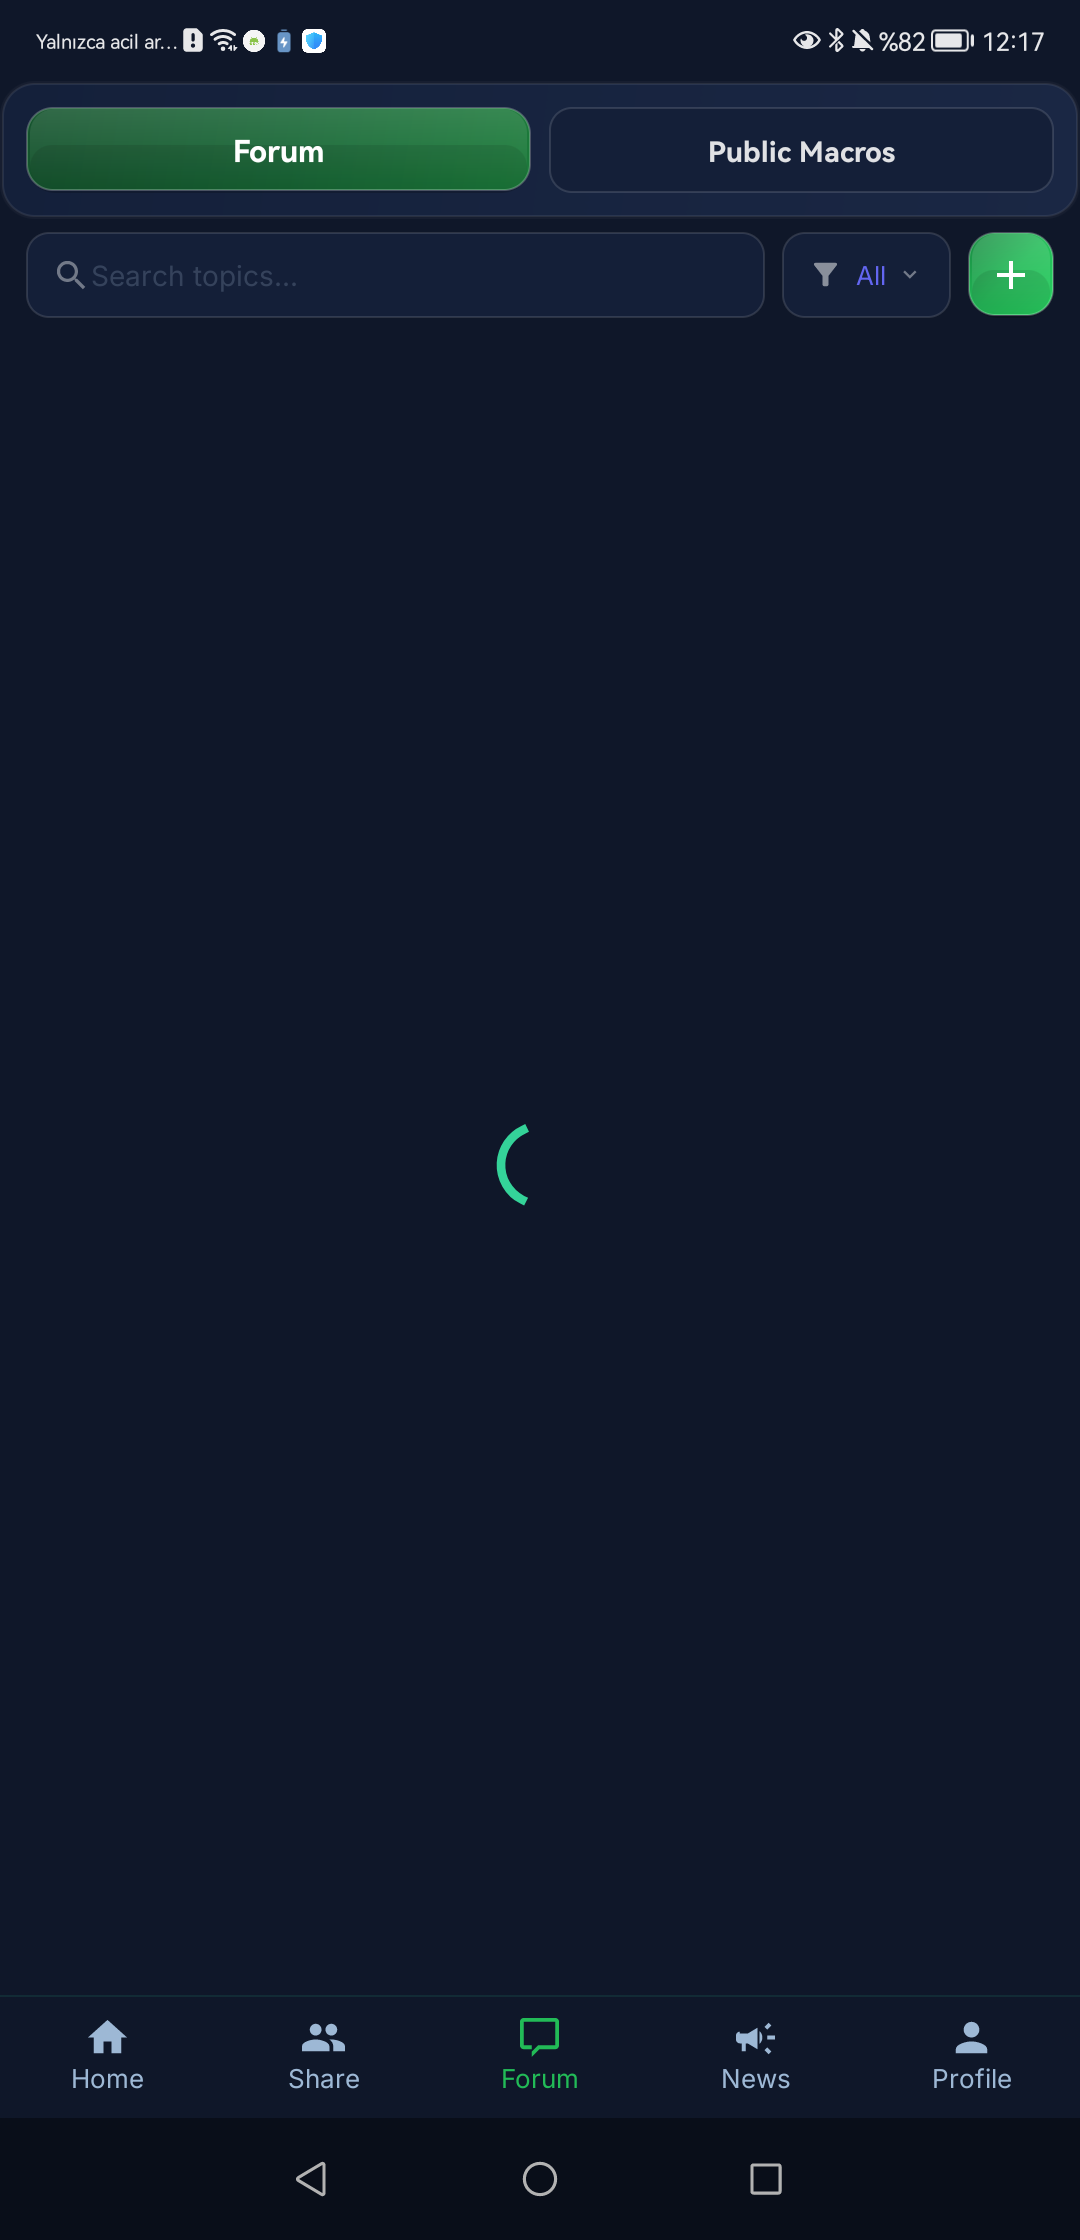
In the forum you can inspect shared macros, ask questions and get feedback.

Forum screen
  1. 1Inspect topics and example macros first; a similar issue may already have been solved.
  2. 2When opening a question, state device model, Android version, permission state, expected behavior, and the actual failure clearly.
  3. 3Use report, blocking, and moderation notifications as part of the community safety flow.

Report a harmful or misleading post; you can manage a user who bothers you from the Blocked users list in Settings.

Settings, support form, and user safety

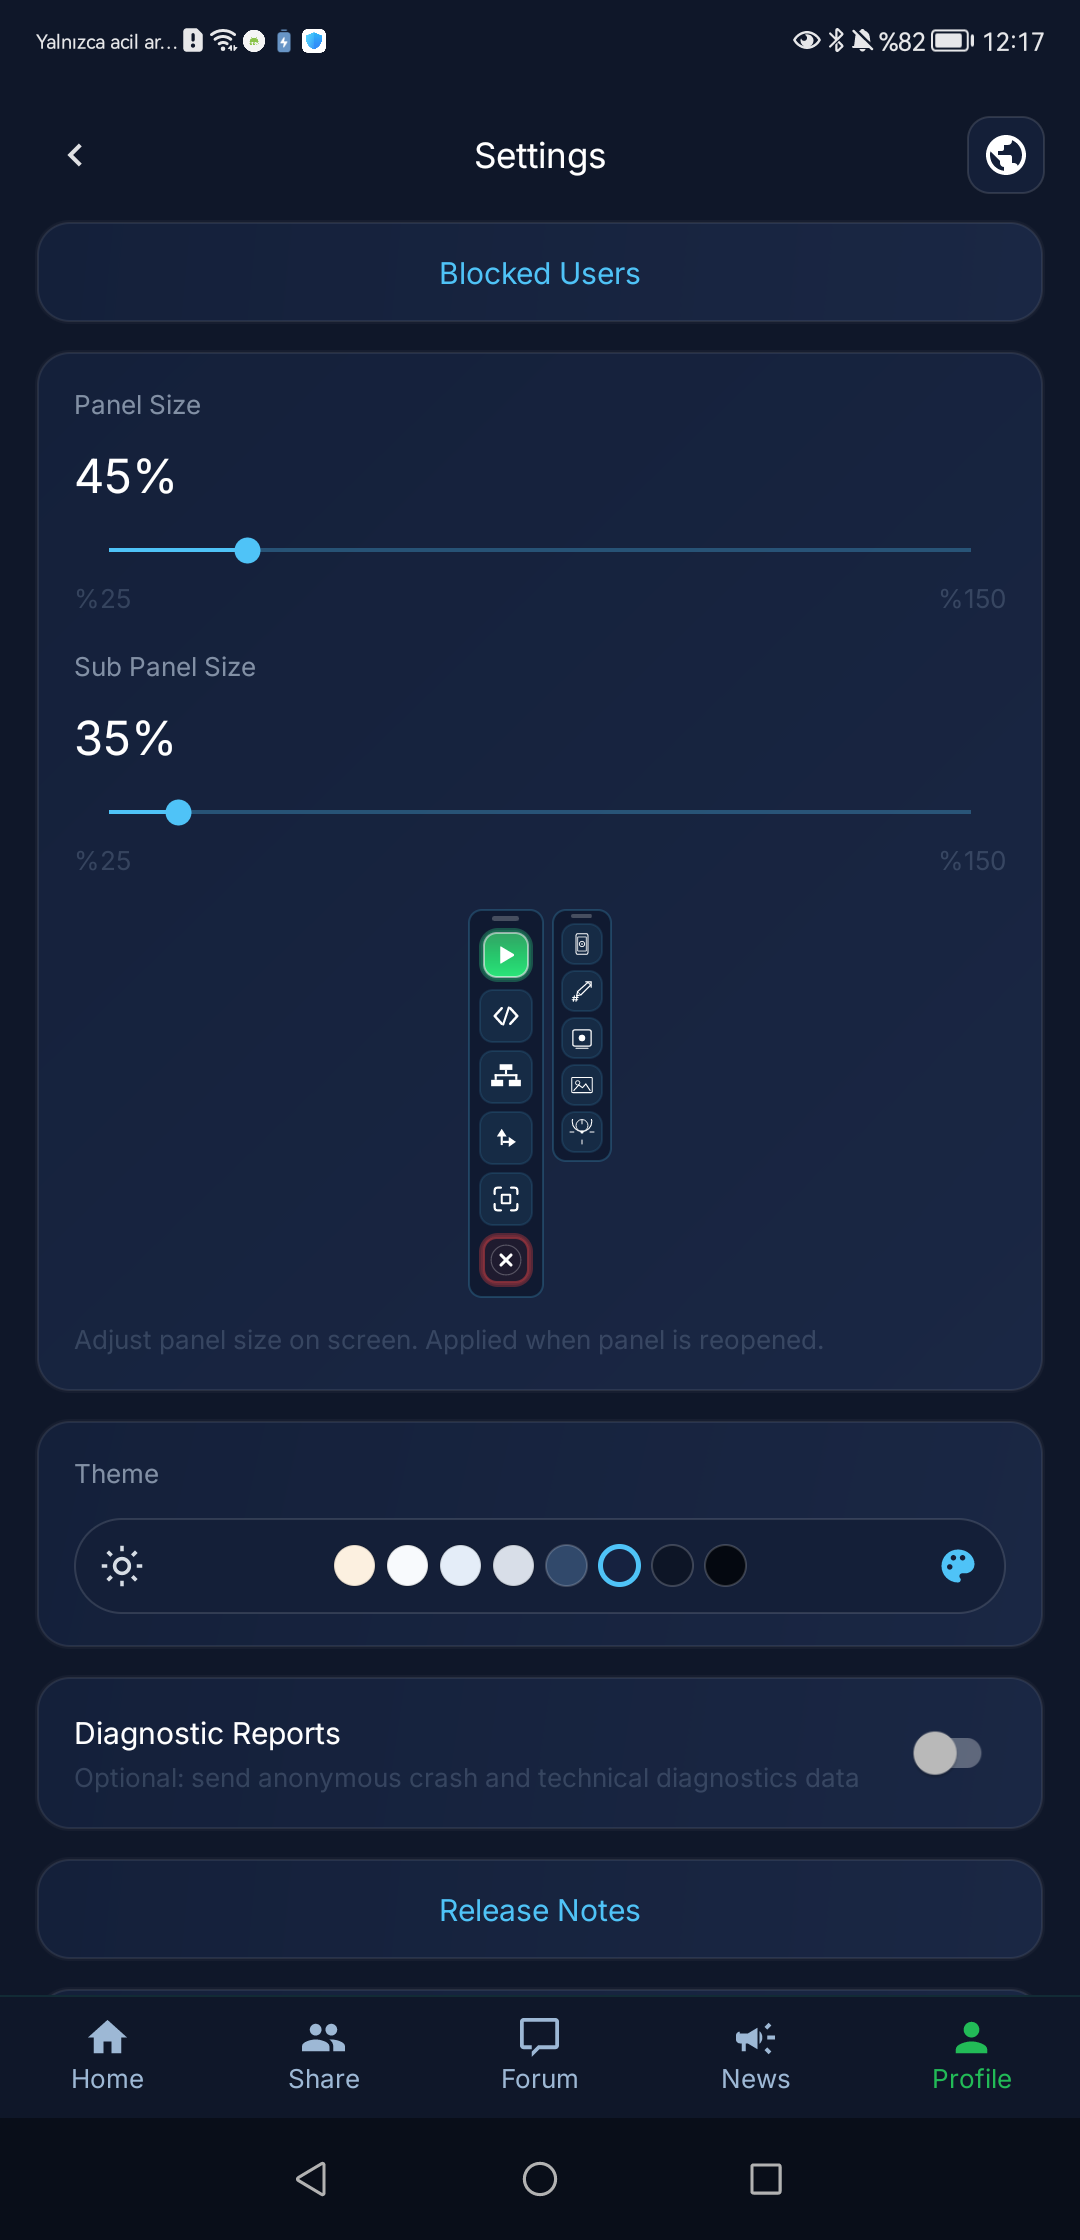
Account, notifications, support requests, and safety settings are the foundation for sustainable app usage.

Profile and settings screen
  1. 1Regularly check account, premium, badge, and device state in the profile.
  2. 2Adjust language, notifications, permissions, and runtime preferences for the current device in settings.
  3. 3In support requests, send the failure step, device model, screenshot, and expected result clearly.

From setup to sharing: how the guides fit together

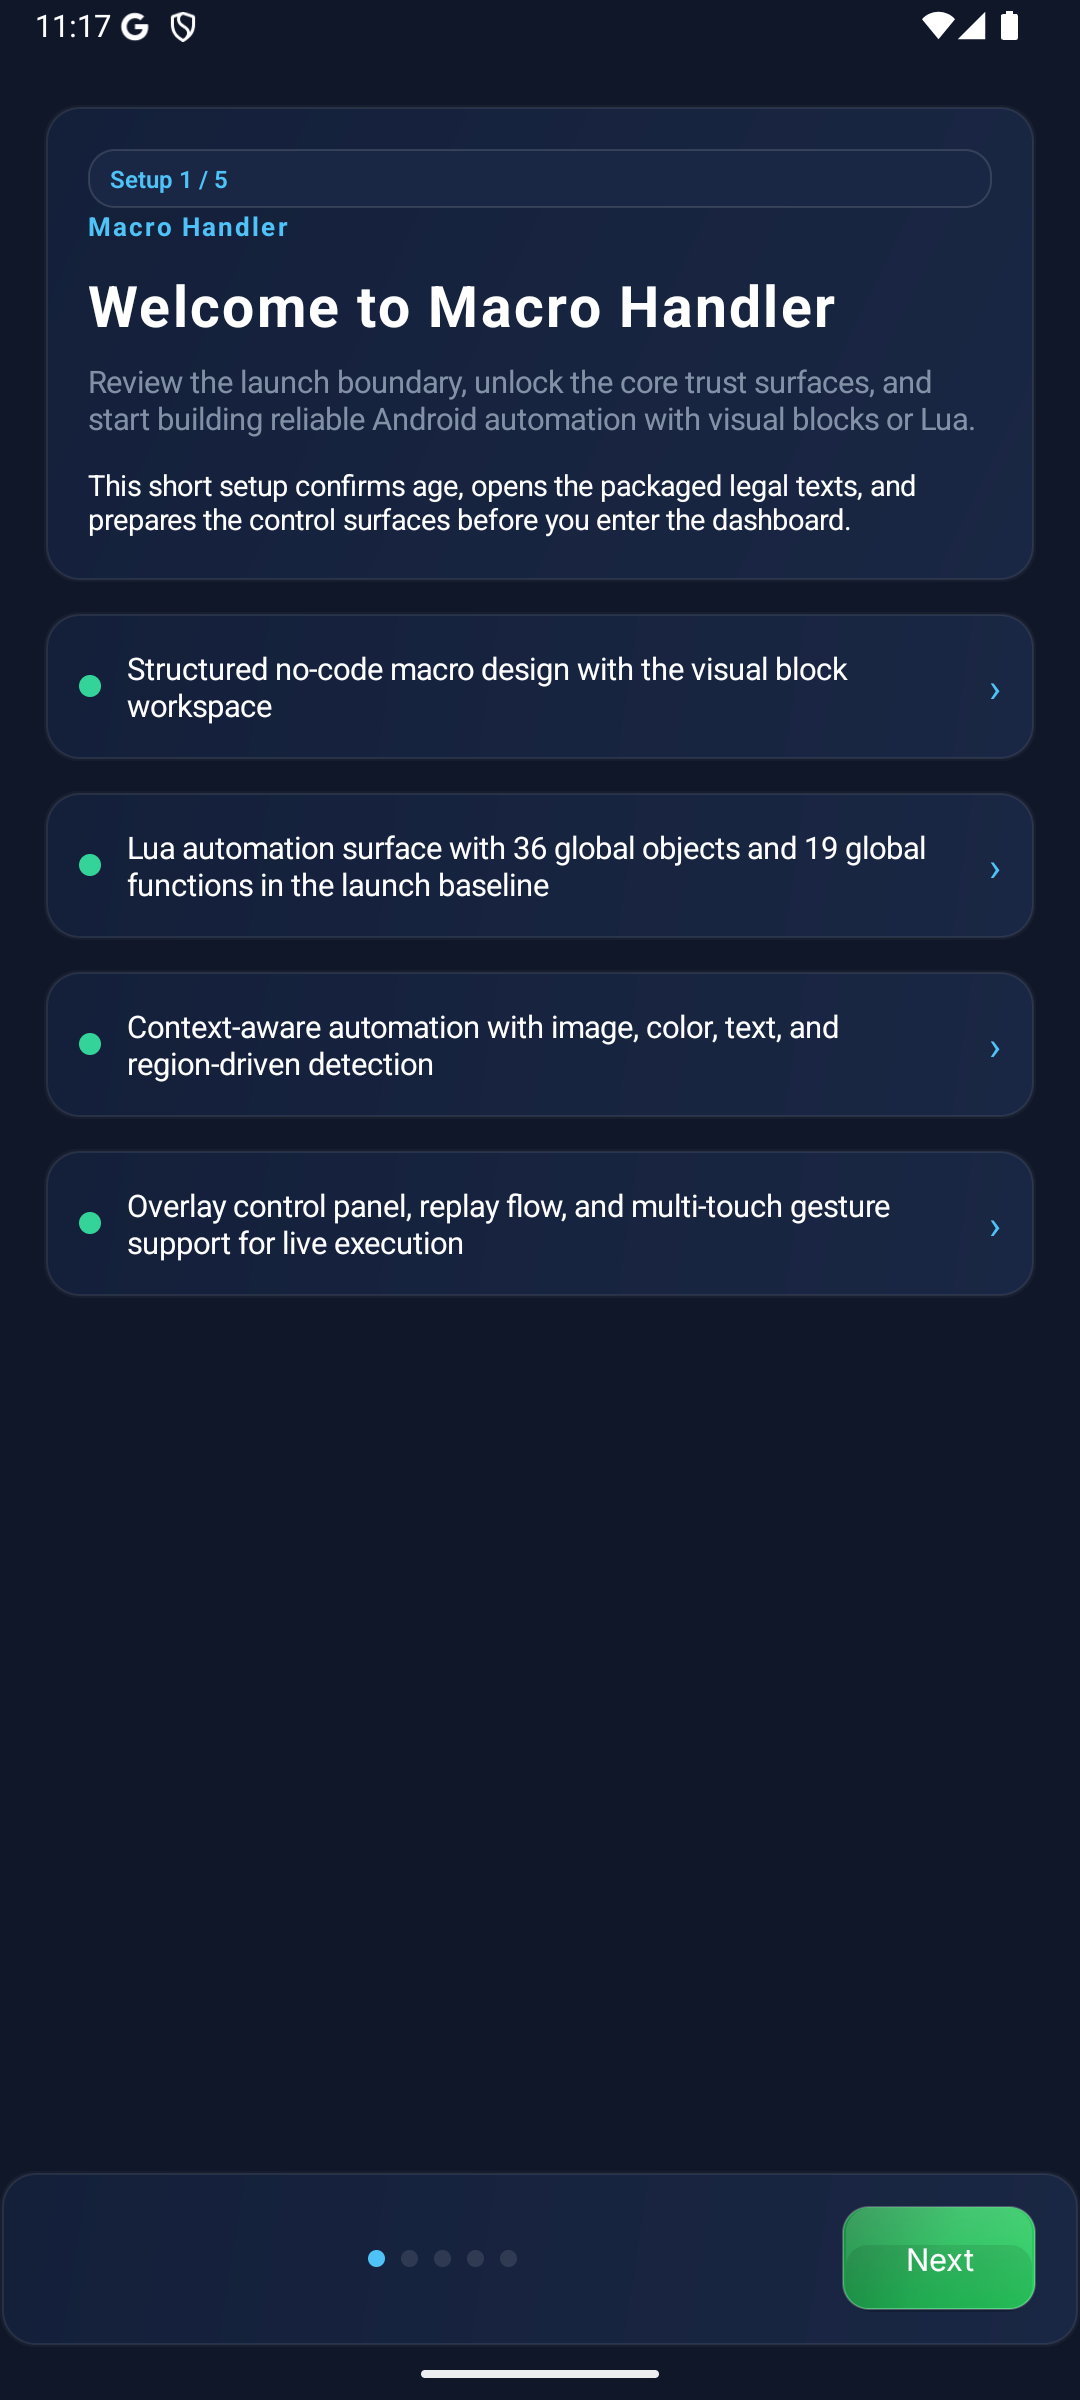
Setup and permissions come first, then your first macro, then the no-code workspace, the Logic Workspace and Lua. Variables, Dialog forms, sharing, the community and how a macro behaves on other devices are linked from every guide.

My Agent Routine

Newv1.0.51

Teach a task, rehearse it, approve it and hand it to the Agent

The My Agent Routine block takes over repetitive tap work, including in games and other apps that only show pixels. Each target is an Agent Detect block taught with reference images. Before every tap the Agent finds the target again on a fresh screen frame and checks the result afterwards; it never replays recorded coordinates.

  1. 1Teach the targetsAdd an Agent Detect block to the same macro, teach the target with positive and negative examples and try it in its TEST panel. If the block only serves as a target, switch it off; left on, it also runs as its own step in the macro.
  2. 2Build the routineOn the Agent card open Routine → Edit. Add the targets, pick a recipe (Clear all, Tap when seen, Tap in order), choose the app every tap is bound to and save. You can also turn a Teach recording made with “Also record my taps (games)” into a draft with Create from recording in the Routine section. The draft includes taps and long presses only; drags, joystick and multi-finger moves do not become steps.
  3. 3RehearseRehearse runs the saved revision without tapping anything: the live panel shows the targets it found and the taps it would make. A rehearsal uses the saved revision, so save your changes first.
  4. 4ApproveEvery tap, wait and guard must either be rehearsed with the current target memory or approved explicitly without rehearsal. Editing the routine or one of its targets removes the approval; rehearse and approve again.
  5. 5Take overTap Take over on the card, read the limits, tick the acknowledgement and press Start takeover. That consent covers this run only. Inside a macro, every Agent block is listed on one consent panel when the macro starts.

Live panel and stopping

The live panel shows each step, the round and the tap count, with Pause and Stop. You can stop at any time: Stop on the live panel, the overlay STOP button, the notification, or holding volume-down. The Agent cannot see your finger on the game screen, so press Pause before you touch the game yourself.

Drag the panel away from targets and the minimap, or make it smaller; it opens in the same place next time for each routine and screen orientation.

Inside a macro

In the “In the macro” section of the Agent card, choose whether an unfinished task stops the macro or the macro continues with the result in agent_ok. After the block, branch on agent_ok, agent_outcome, agent_taps and agent_detail.

For starts from a schedule, a trigger or another macro, tick “Let this macro start the Agent without asking” once on the consent panel. If consent is not given within a minute, the macro does not start; stopping the macro also stops the Agent.

If you stop the Agent with Stop (live panel, holding Volume-Down or MH-AI Stop), starts without asking are suspended. Start the macro once yourself; Start on the consent panel lifts the suspension.

Limits to know

  • Swipe, drag, joystick and BACK are not Routine steps yet; do them with Swipe or Touch blocks next to the Agent block in the macro loop.
  • A routine is bound to your account and to this Agent block. Using it requires a signed-in account and the accessibility service turned on. The routine and its approval stay on this device; exporting, backing up or transferring the macro does not carry them.
  • A routine does not start while MH-AI autopilot is running a task; stop it first.
  • Success in the tested environment is not a guarantee for every phone or game. Start with one reversible step; do not include payment, deletion or permission-changing steps.

Game loop: Navigation, Agent Detect and My Agent Routine together

Newv1.0.51

When a blocker closes the path while Navigation follows the route, My Agent Routine clears it and the route continues from where it stopped.

  1. 1Teach an Agent Detect block that recognizes the blocker and make it a target of My Agent Routine (for example with the Clear all recipe); rehearse and approve the routine.
  2. 2In the Navigation block choose Strict as the Control mode and set Continue after an Agent to After verified completion.
  3. 3In a bounded GROUP loop, check navigation_resumePending after Navigation and run the My Agent Routine block when it is true. On the next pass the same Navigation block continues from its saved progress; leave the loop when navigation_state is ARRIVED.

Movement resumes only after the routine has actually completed; skipped routines and unverified plans cannot resume movement. Open the Navigation block guide

For recipe details, result variables and failure cases, see the My Agent Routine and Agent Detect cards in the block guide. Open the block guide

Value binding

The lightbulb: bind a field to a variable, a Dialog field or a random range

Fields that accept a binding show a lightbulb. An amber bulb means the field uses the value you typed; a bulb in the block’s colour means it is bound to a source. Tap the bulb to choose, change or remove the source. A binding reads its value while the macro runs; the typed value is kept.

{x}, {t}, {r}: variables and Dialog fields

{x} lists number values and {t} lists text values. {r} shows any runtime reference: a project variable, an earlier block’s output or a Dialog field. A wait time typed into a Dialog, or a target chosen there, then flows straight into the block that needs it.

To return to the typed value, open the bulb and tap ×; the binding is removed and the field uses the value you typed again.

Random rangeNewv1.0.51

On supported number fields, bulb → Random shows two endpoints instead of one number, for example 1000 – 3000 for a wait. The field keeps its unit, reversed endpoints are sorted and equal endpoints give a fixed value. For points and regions, X, Y, width and height are chosen independently.

The value is drawn once per block call; the project repeat count is drawn once when the outer loop starts. The field’s own minimum and maximum still apply. An invalid range is not saved and the last valid endpoints are restored.

Condition: switch a search entry on or offNewv1.0.51

Image and MH Smart Replay images, Color and Moving Color entries, Text searches and extra OCR colours each have their own bulb. Bulb → Condition → source → expected option → Save decides when the entry is active. The source can be a variable, an earlier block’s output or a Dialog choice such as Radio, Dropdown, Multi-select, Tab Group or a checkbox.

Inactive entries are skipped during the search; if every entry is off, that never counts as a match. A condition whose source was deleted never enables the entry, and validation reports it. A condition does not change the entry’s typed value or its value binding.

Which fields can be bound?

Most number and coordinate fields carry a bulb. Version 1.0.51 adds motion duration and count, wait and auto-stop settings, the project repeat count and decision distances. Newv1.0.51

A bound number stays within the field’s limits. A value bound to the project repeat count, for example, always produces a finite repeat; choose continuous looping separately if you need it. The block’s settings show which fields can be bound: a bindable field has the bulb next to it.

Triggers and Automation

Triggers, conditions and Magic Text

A macro does not have to start by hand: a schedule, device state, a notification or an app event can fire it too. App launch opens the control panel and waits for you to press Play; every other trigger starts the macro on its own. The cards below cover the trigger modes, the condition tree, the permissions they need, the Magic Text token list and cron setup.

Trigger surface

On the Macro Settings screen you pick a trigger mode per macro. Alongside manual start there are 14 automatic modes.

  1. 1Time: daily time (classic clock or cron) and repeating interval.
  2. 2App and notification: app launch and close, notification posted and cleared (allowlisted).
  3. 3Device state: battery level, charger connected and disconnected, screen on and off, volume key.
  4. 4External: system broadcast and remote trigger (FCM).

An interval trigger can be from 5 minutes to 24 hours. The volume-key trigger starts or stops the macro with a short press of the chosen key; holding volume-down still works as the emergency stop.

Condition tree

Every trigger can be narrowed with conditions. In the simple list every selected condition must hold; Edit condition tree combines them in AND / OR groups and can negate any condition or group with NOT. The 10 selectable conditions:

  • Require screen on
  • Require charging
  • Require Wi‑Fi
  • Require headset
  • Require device unlocked
  • Require macro idle
  • Device orientation (portrait or landscape)
  • Battery level (above or below)
  • Within time range (can cross midnight)
  • Require foreground app

If the app cannot read a condition, or the condition is not supported by this version, it counts as unknown: an unknown condition never counts as satisfied, and NOT cannot turn it into true. In an OR group, another condition that holds can still fire the trigger. Tree edits go into the draft with Apply to draft and are stored with Save in settings.

Permissions triggers need

  • Accessibility serviceApp launch and close triggers, the “Require foreground app” condition and the volume-key trigger see the foreground app and the keys through this service.
  • Notification accessNotification posted and cleared triggers need system notification access. Macro Handler only evaluates notifications from the app you choose on that screen.
  • Alarms & remindersOn Android 12 and later, tap Allow precise timing so daily-time and interval triggers fire at the selected moment. Without this access Android may delay the trigger.
  • Starting in the backgroundIf Android blocks an automatic start in the background, a “Tap to start macro” notification appears; tap it to open Macro Handler and continue.

Magic Text token list

To insert live values into no-code text fields, you pick a token from the Magic Text picker; the app inserts it as {{ mh.token("id") }} and expands it to the real value at runtime. There are 32 tokens across 7 categories.

  • Screen: screen.width, screen.height, screen.resolution, screen.dpi
  • Device: device.sdk, device.language, device.model, device.android_version, device.battery_level, device.is_charging, device.package
  • Time: time.now_ms, time.iso, time.date, time.time, time.hour, time.day_of_week
  • Clipboard: clipboard.text
  • Event: event.exists, event.kind, event.source, event.mode, event.package, event.app_name, event.title, event.body, event.macro_id
  • Runtime: runtime.width, runtime.height
  • Random: random.1_100, random.percent, random.uuid

Cron and remote trigger

On the daily-time trigger you can switch from a fixed clock time to the advanced cron mode. Cron has 5 fields: minute, hour, day-of-month, month, day-of-week.

  1. 1Per field: * (every value), a single value, a-b range, a,b,c list, and */n step are supported.
  2. 2Day-of-week takes 0-6; both 0 and 7 mean Sunday.
  3. 3Example: 0 9 * * 1-5 = 09:00 every weekday.
  4. 4An invalid expression is rejected and the macro safely falls back to clock mode.

In remote-trigger mode the app generates a strong secret token for the macro and stores it encrypted on the device. A trigger can only arrive as an encrypted FCM message tied to your own account; the device re-validates the token, timestamp and one-time nonce. There is no public webhook address, and the web or second-device control that sends these messages is not available yet.

Copy Link in Macro Settings gives the macrohandler://run/<macroId> quick access link. It can open the macro from other apps but never starts the run directly; it always lands on the confirmation and control panel surface.

Running on another device

Work area, device adaptation and Verify work area

Every macro stores the resolution, DPI and orientation of the screen it was written on as its reference profile. On another phone, tablet or emulator, coordinates are scaled from that profile. If the target app rearranges its own layout, finding the target again with an Image, Text, OCR or colour scan is more robust than fixed coordinates.

Work Area Settings

The work-area button on the control panel shows the device resolution next to the macro’s reference profile. Use Select Area to mark where the app is actually drawn, or Reset to go back to full screen; nothing is stored until you press Save.

Adapt macro to this device

If the macro was written for another resolution or DPI, Change Work Area Profile on the control panel or Adapt to this device in Macro Settings moves the no-code coordinates onto this device’s reference plane; decision distances, swipe lengths and measurement thresholds scale with them. This is a persistent transformation. On the control panel a confirmation card opens first; tap Cancel on the card to back out. Adapt to this device in Macro Settings applies as soon as you tap it.

Adaptation works only for macros with a no-code project; Lua coordinates cannot be migrated safely, so code macros keep their profile. A custom area is not adapted while the device is in the opposite orientation; rotate it to the macro’s orientation first.

Verify work area

Verify work area in the work-area window is a guided walk through every region the macro uses on screen. You can drag the guides, open the block that owns a region and recalibrate a single target; corrections are saved to the project.

While a macro runs or an editor opens, the walk steps aside and later returns to the same stop. No-Code and Logic guides open the workspace that owns them. After adapting, walking the regions once with this tour is a good habit.

Each button is explained in detail in the in-app help: Adapt macro to this device

Secure Macro Portability

Import locally, store in Cloud Vault, or transfer privately

All three paths use the same security chain but solve different needs: move a signed ZIP package locally, keep it in one of three private cloud slots, or send a time-limited transfer to one recipient. The source and requested capabilities must always be reviewed before import.

Newv1.0.51 My Agent Routine routines and their approvals are kept encrypted on this device only; ZIP export, Cloud Vault, Macro Transfer and sharing do not carry them. ZIP export, Cloud Vault and Macro Transfer do carry the Agent Detect target blocks and their references; on the other device, rebuild the routine in Routine → Edit, rehearse it and approve it. My Agent Routine guide

Local and manual

Import from or export to this device

A Premium user can save a macro to the device as a signed ZIP and import a trusted package on another device. This path does not use cloud storage or a recipient account.

  1. 1Open This device in the export panel and save the package to a trusted folder.
  2. 2When importing, select only a signed ZIP whose source you know.
  3. 3The macro is not installed until preflight validates signature, integrity, file paths, entry count, unpacked size, and sensitive blocks.

Premium · three private slots

Cloud Vault

Manually upload, replace, restore, or delete up to three complete macro archives on devices signed in with the same Google account. Each slot accepts up to 10 MiB, for 30 MiB of active capacity.

  1. 1There is no automatic sync; listing and transfer happen only when you initiate the action.
  2. 2Local ZIP import and export handle 50–100 MB packages independently of the online quota; archive integrity, file-type and image-pixel checks remain in place.
  3. 3Older online packages above 10 MiB remain listed and can be deleted; a smaller package is required for new uploads or downloads.
  4. 4Shared or restricted macros cannot be uploaded to the vault, and the package must stay within 10 MiB.
  5. 5If Premium ends, listing and deletion remain available during a 30-day recovery period; restore and new upload require renewal.
  6. 6Archives stay in private storage and move directly only through short-lived, authorized links.

Premium · one active outgoing transfer

Macro Transfer

Privately send one macro up to 10 MiB to one Premium user by verified Google account email. The recipient can import or reject it, and the sender can cancel before completion.

  1. 1Shared or restricted macros, macros with an invalid owner and packages above 10 MiB are blocked before upload; the exact macro is shown before it is signed and packaged.
  2. 2Only one active outgoing transfer is kept at a time; the current transfer must be completed, rejected, canceled, or expired before another can start.
  3. 3A pending transfer expires after seven days; after import is acknowledged, it is removed from the recipient list and the sender active slot.
  4. 4The recipient raw email address is not stored in the transfer record; lists use bounded on-demand queries with no live listeners.

Security check before import

Do not run a macro from an unknown source. Even though the app validates the package technically, you must review network requests, touch and swipe actions, accessibility use, sensitive blocks, and target apps. Reject a suspicious package instead of importing it.

Availability note

Cloud options appear only when enabled for the current app release, account, and backend activation state. If unavailable, use the local signed-ZIP import and export path.

Referral Center

Invite people, earn credits and use them for Premium

When the program is enabled, the Referral Center appears in the top bar of the Profile screen. Taking part is optional: nothing is created until you create your referral profile yourself.

Credits cannot be bought or transferred and have no cash value. Refunds, chargebacks and abuse reverse credits; a negative balance must be repaid before another reward. The rules are in section 5.5 of the Terms of Service. Terms of Service

  1. 1Create your referral profile. Your nickname, credit balance, rank and, if you choose, your profile photo appear in the ranking.
  2. 2Copy or share your personal link. The invited person can link a code only once, and a linked code cannot be changed later.
  3. 3Linking alone earns nothing. Each server-verified Premium purchase by someone you invited earns you 1 credit.
  4. 4Use credits for 30 days of Premium, 30 days of Badge or +1 permanent device slot, for yourself or as a gift to another user by verified Google email. The required credits are shown at checkout.