No-code Quick Start
Build your first macro in 7 steps
No code required. The IMAGE + CLICK + DELAY trio that taps a button on screen, repeated. For full per-block details see the Visual Builder Guide.
Clean quick path
The three critical places in the first macro
A new user must understand the target image first, then the tight scan region, and finally the CLICK step connected to the found result. The clean screenshot shows that flow on the real no-code screen without overlays.
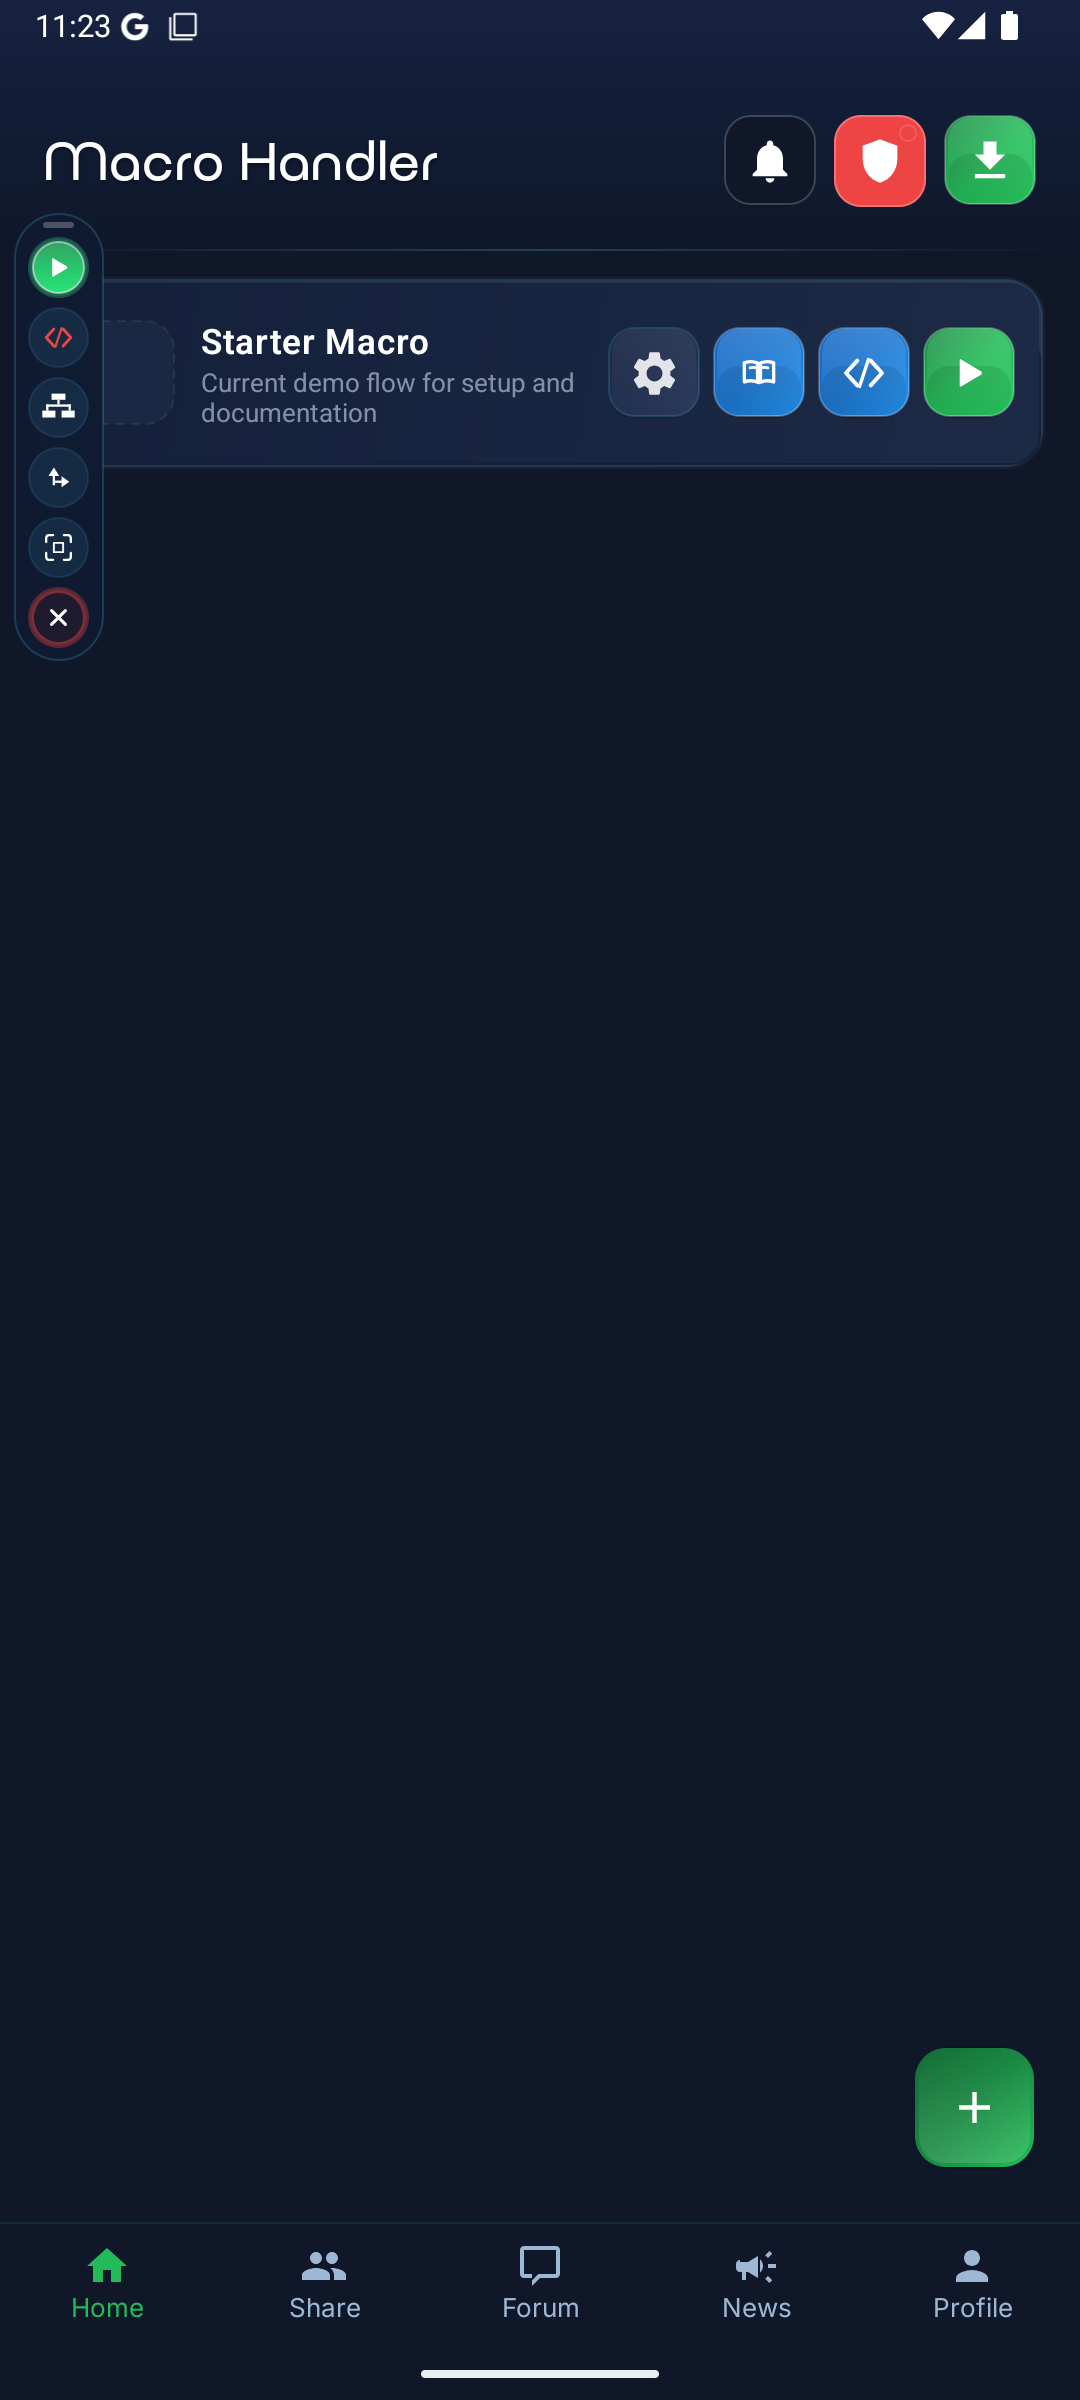
Open Macro Handler
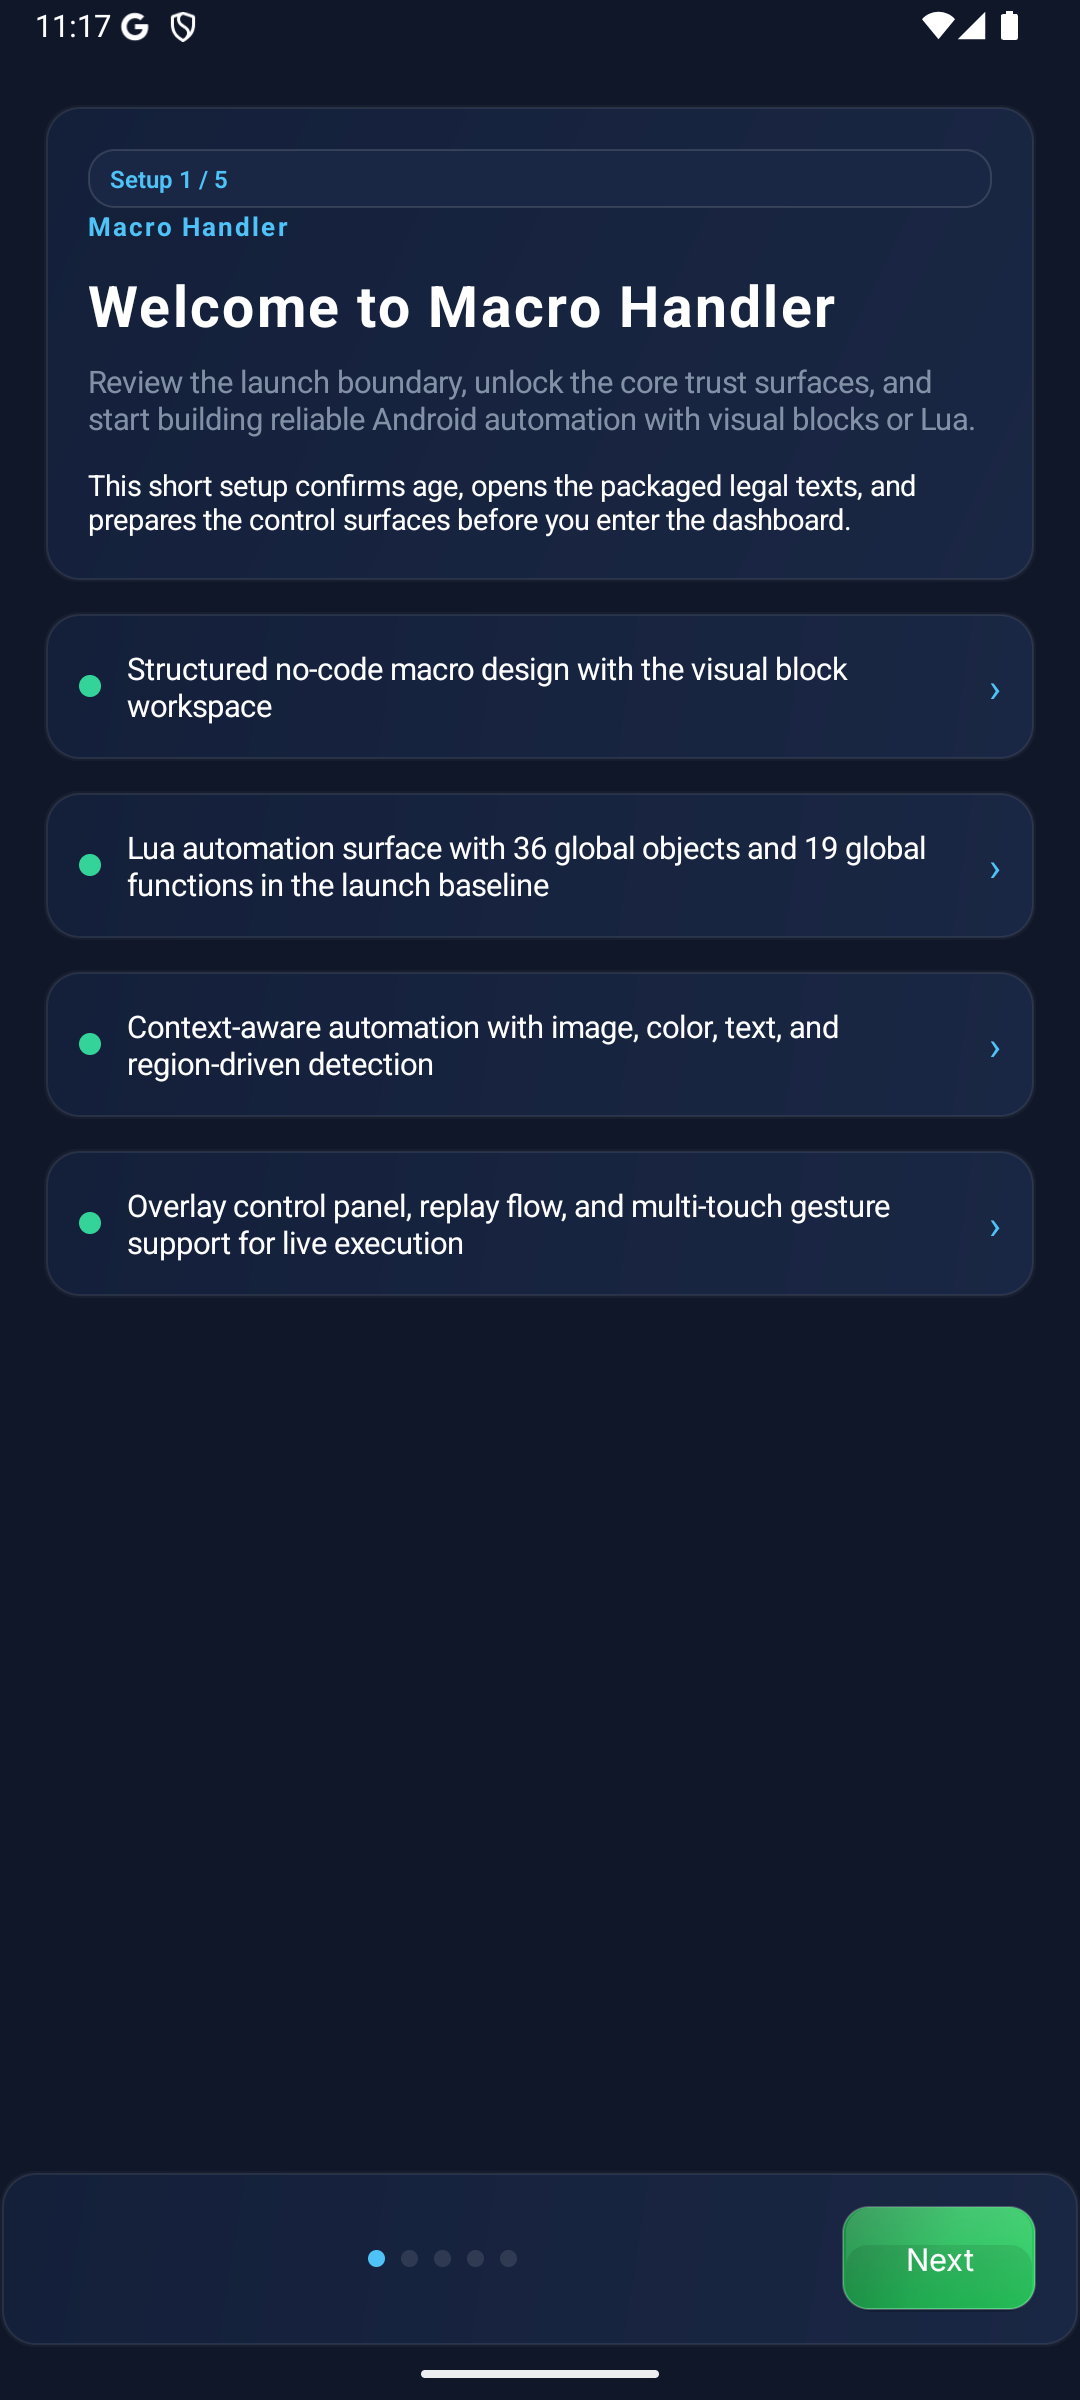
Open the app and complete the Welcome / Age / Legal / Sign-in / Permissions flow. These run only once; later launches skip them automatically.
PrerequisiteDisplay Over Other Apps and the Accessibility Service permission must be granted. Without these, the IMAGE/COLOR/TEXT blocks cannot run.Welcome
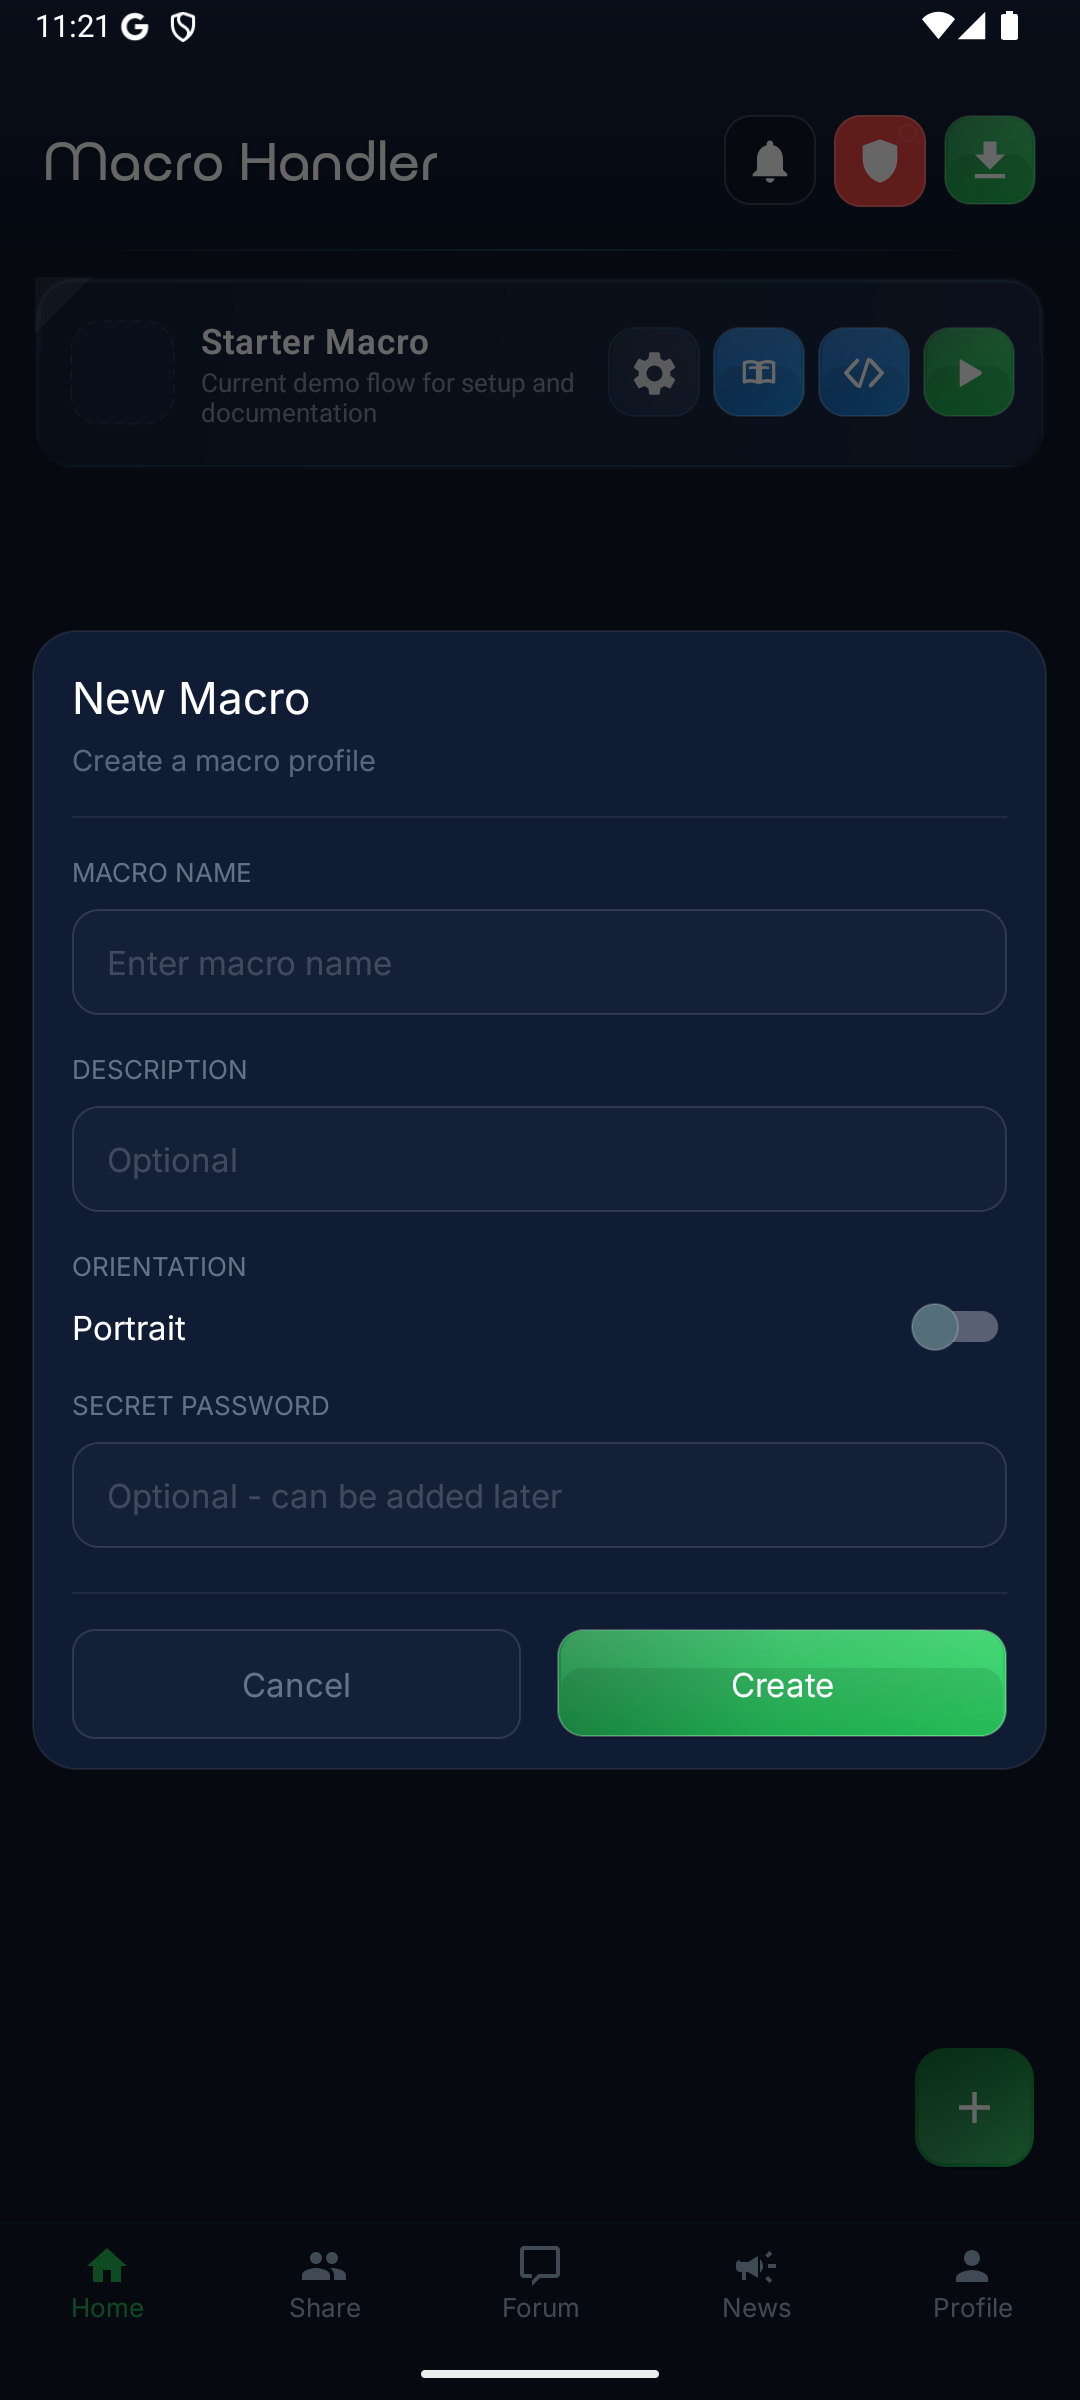
Create a New Macro
From the home screen tap "+" and choose "Visual Builder". Give the macro a name. This step opens an empty block chain (root: a single start node).
Dashboard
New Macro
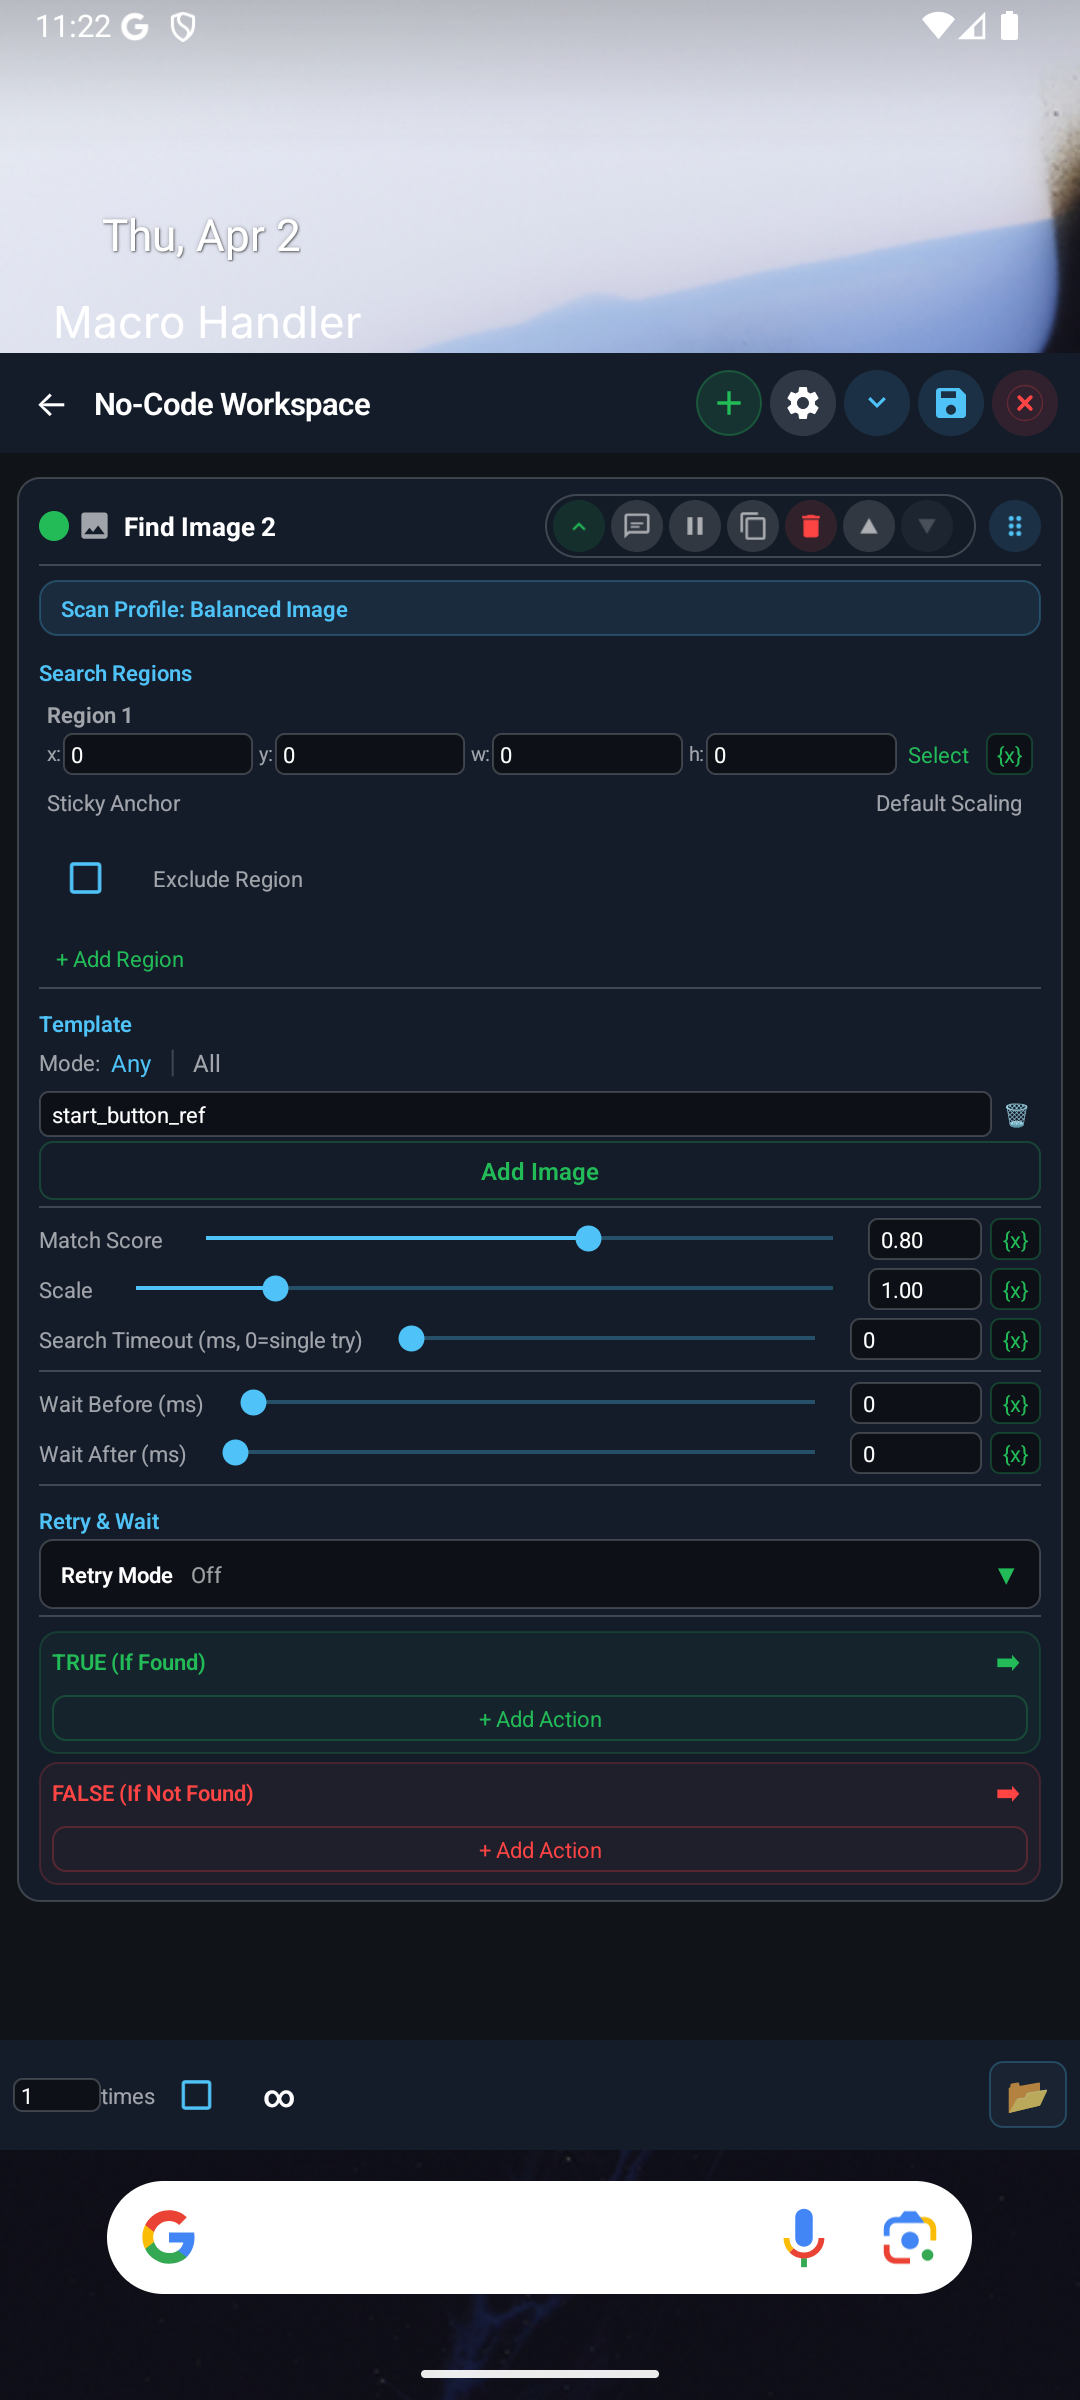
Add an IMAGE Block
From the left/bottom block palette, drag an IMAGE block under the start node. Select the Template field and capture from the screen: outline the target button / icon as a small region.
IMAGEFinds where a template image is on screen. Records the position when found; returns false otherwise.
Performance tipKeep the Scan Region as NARROW as possible. Scan time grows roughly linearly with area.IMAGE Flow
Template Gallery
Block Preview
Current in-app block card for the IMAGE block.
v1.0.27English UI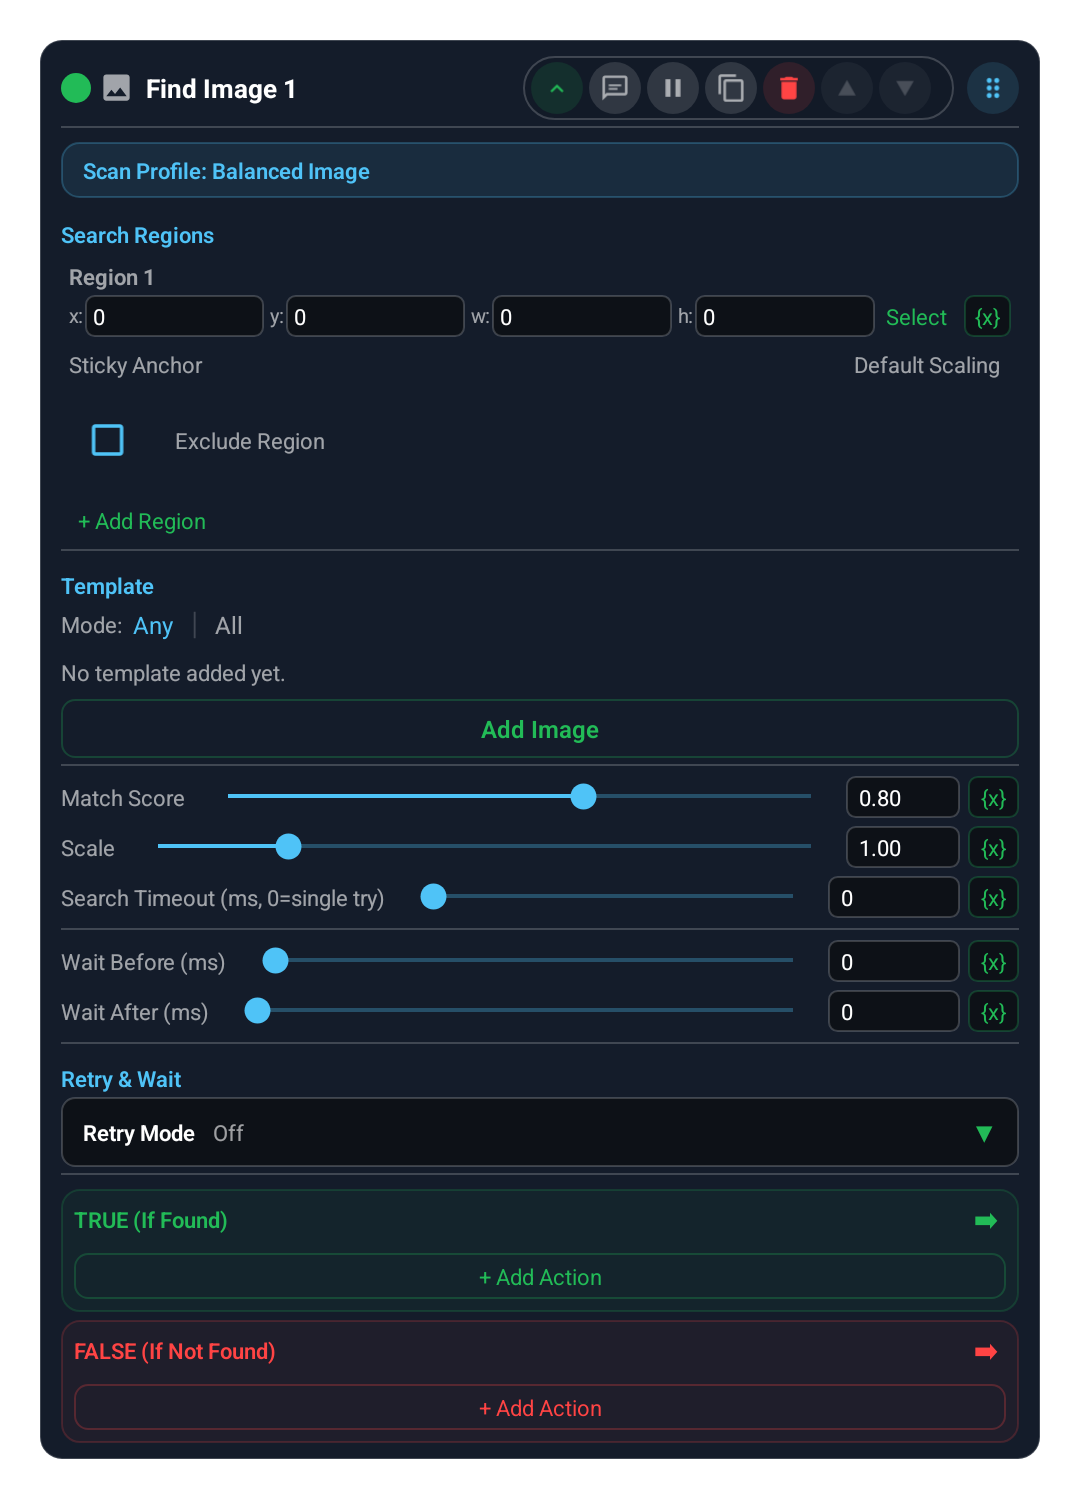
Add a CLICK Block
Drag a CLICK block under the IMAGE block's "true" branch (target found). Set its target to "Last IMAGE hit". CLICK now taps where the IMAGE block found the target.
CLICKPerforms a single tap on a coordinate or the last find hit.
Block Preview
CLICK block card showing tap target options for a coordinate or last hit.
v1.0.27English UI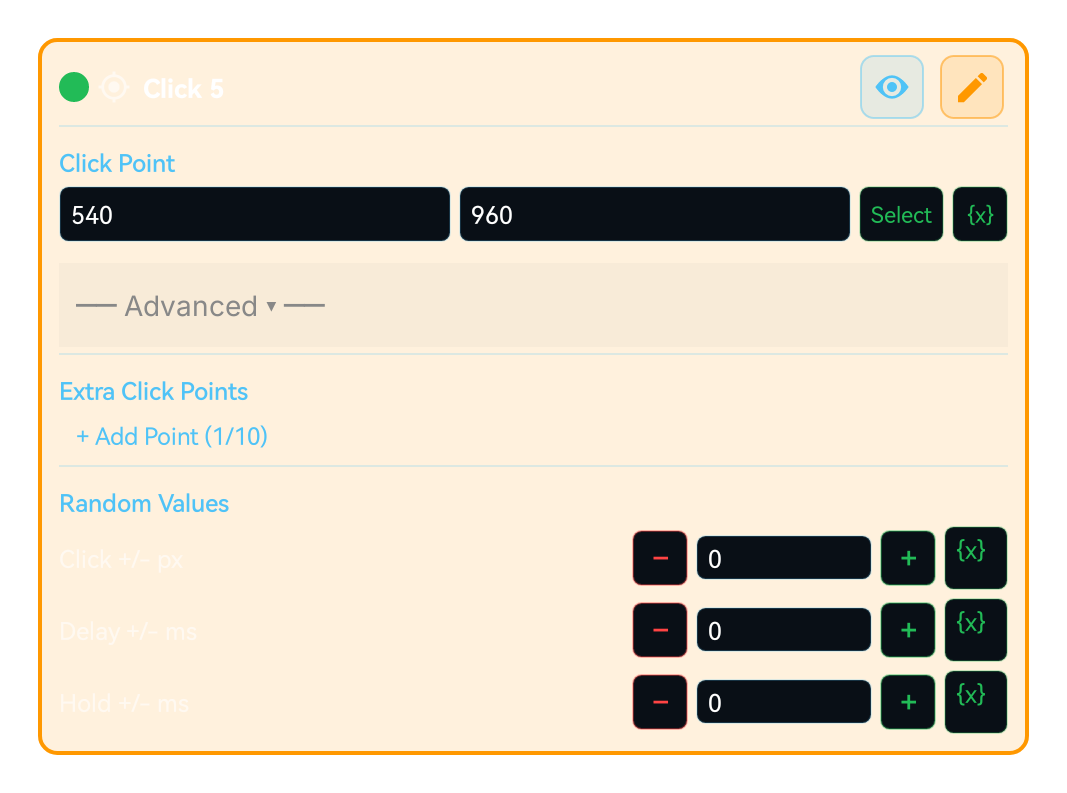
Add a DELAY Block
After CLICK the macro should pause briefly; otherwise later scans hit a screen that has not redrawn yet. Drag a DELAY block under CLICK and set 500-800 ms.
DELAYPauses the macro for the given number of milliseconds.
Block Preview
WAIT/DELAY block card for defining the pause duration.
v1.0.27English UI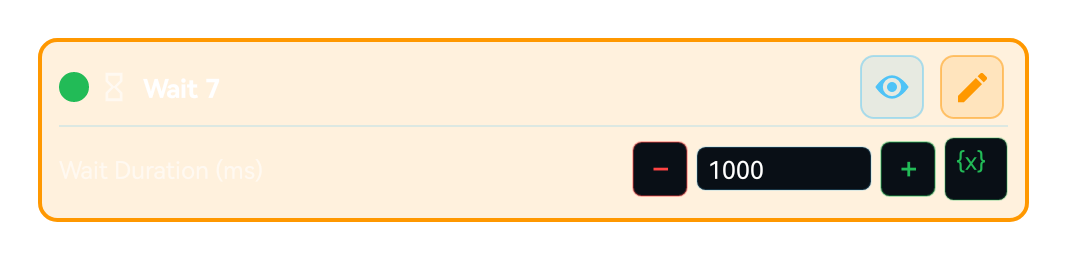
Repeat with LOOP (optional)
If you want the macro to run continuously, place a LOOP block at the root and put the IMAGE+CLICK+DELAY chain inside it. Choose a repeat count or infinite.
LOOPRepeats the contained block chain a given number of times or infinitely.
Block Preview
GROUP block card showing loop settings for repeating the IMAGE + CLICK + DELAY chain.
v1.0.27English UI
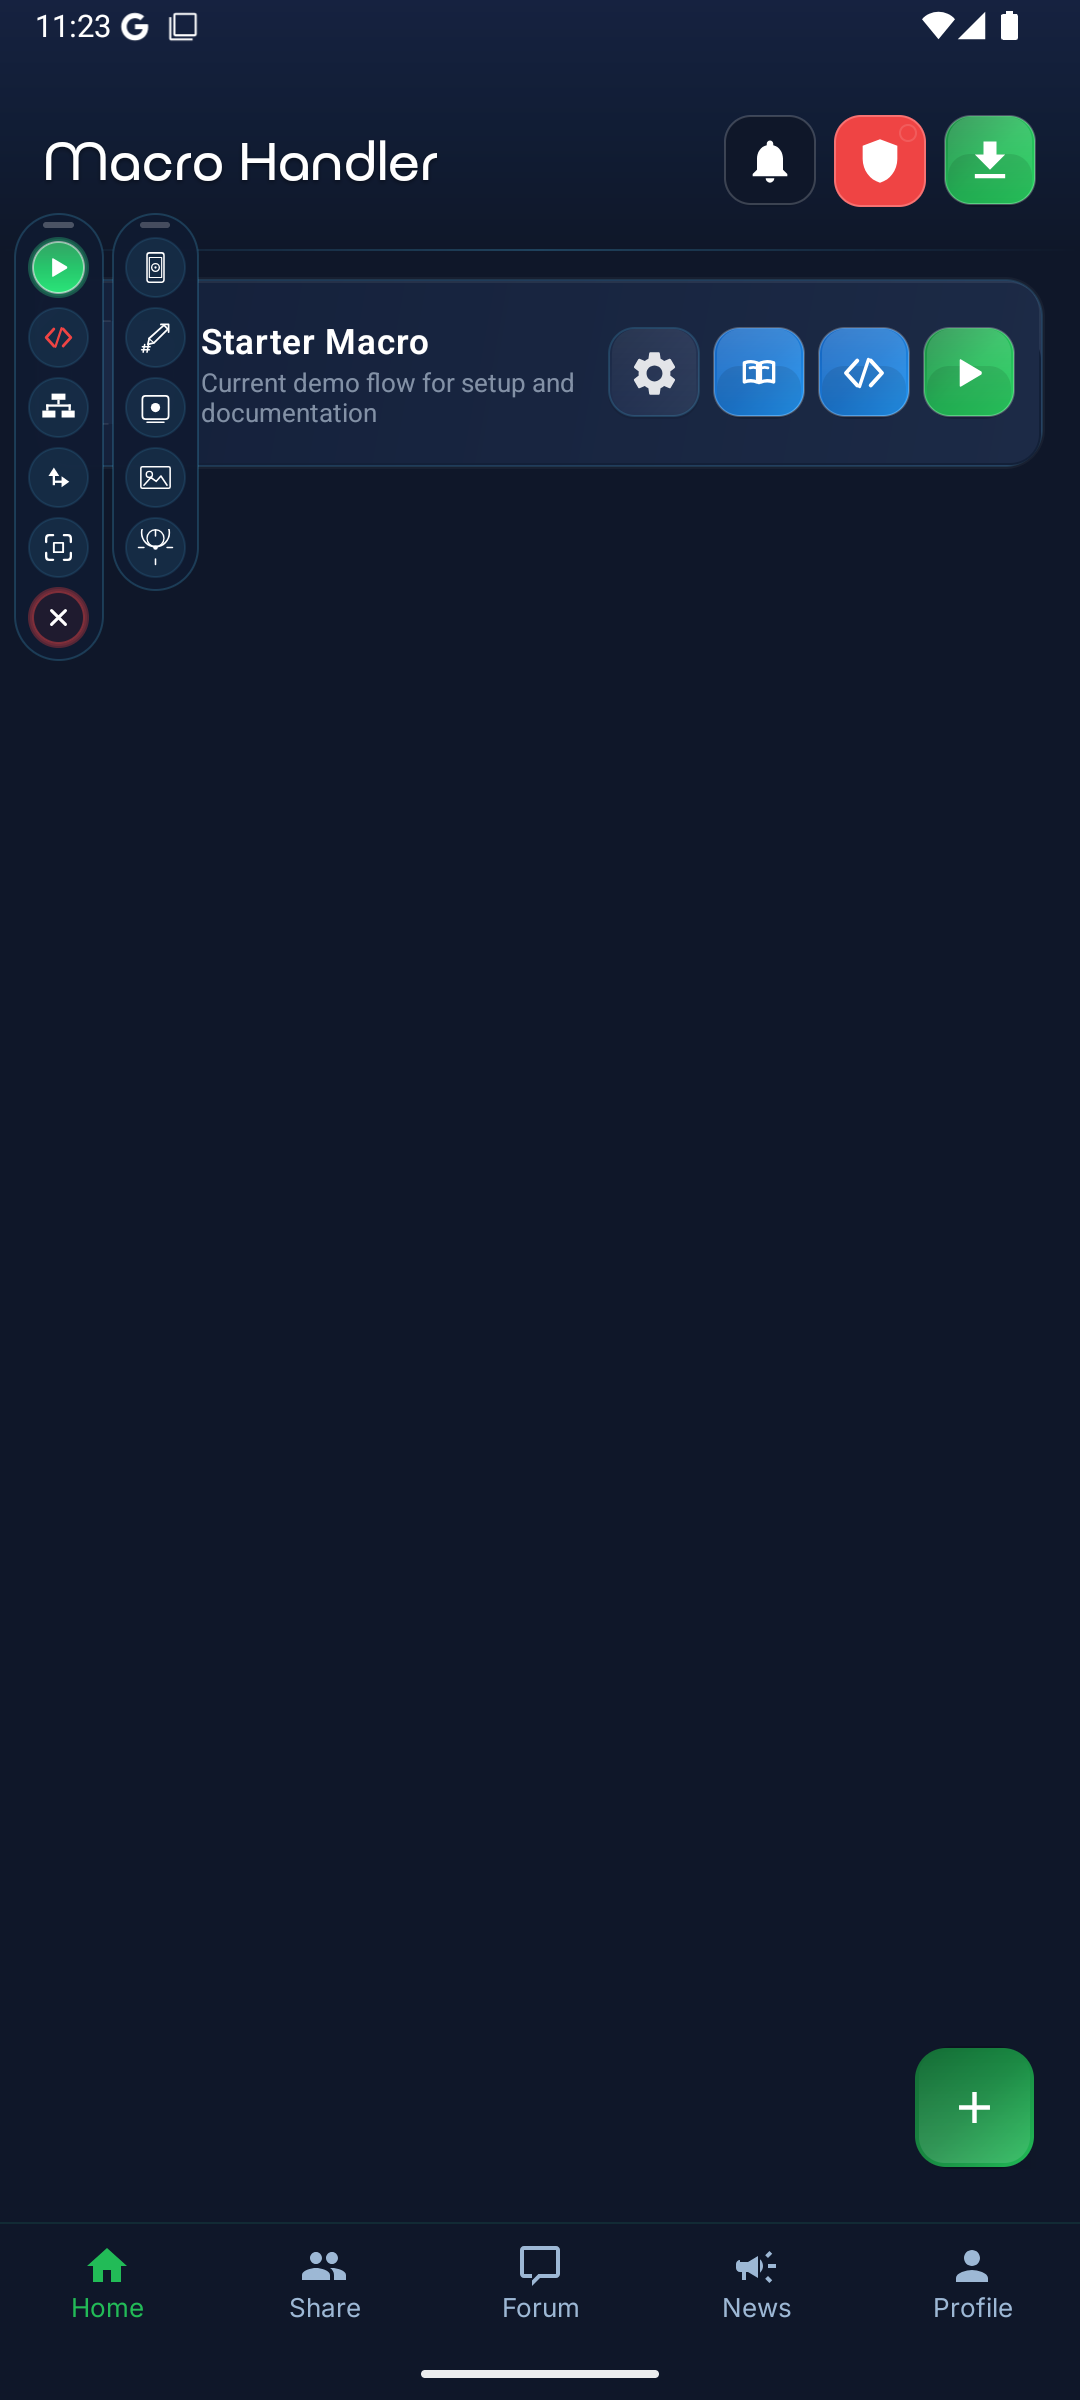
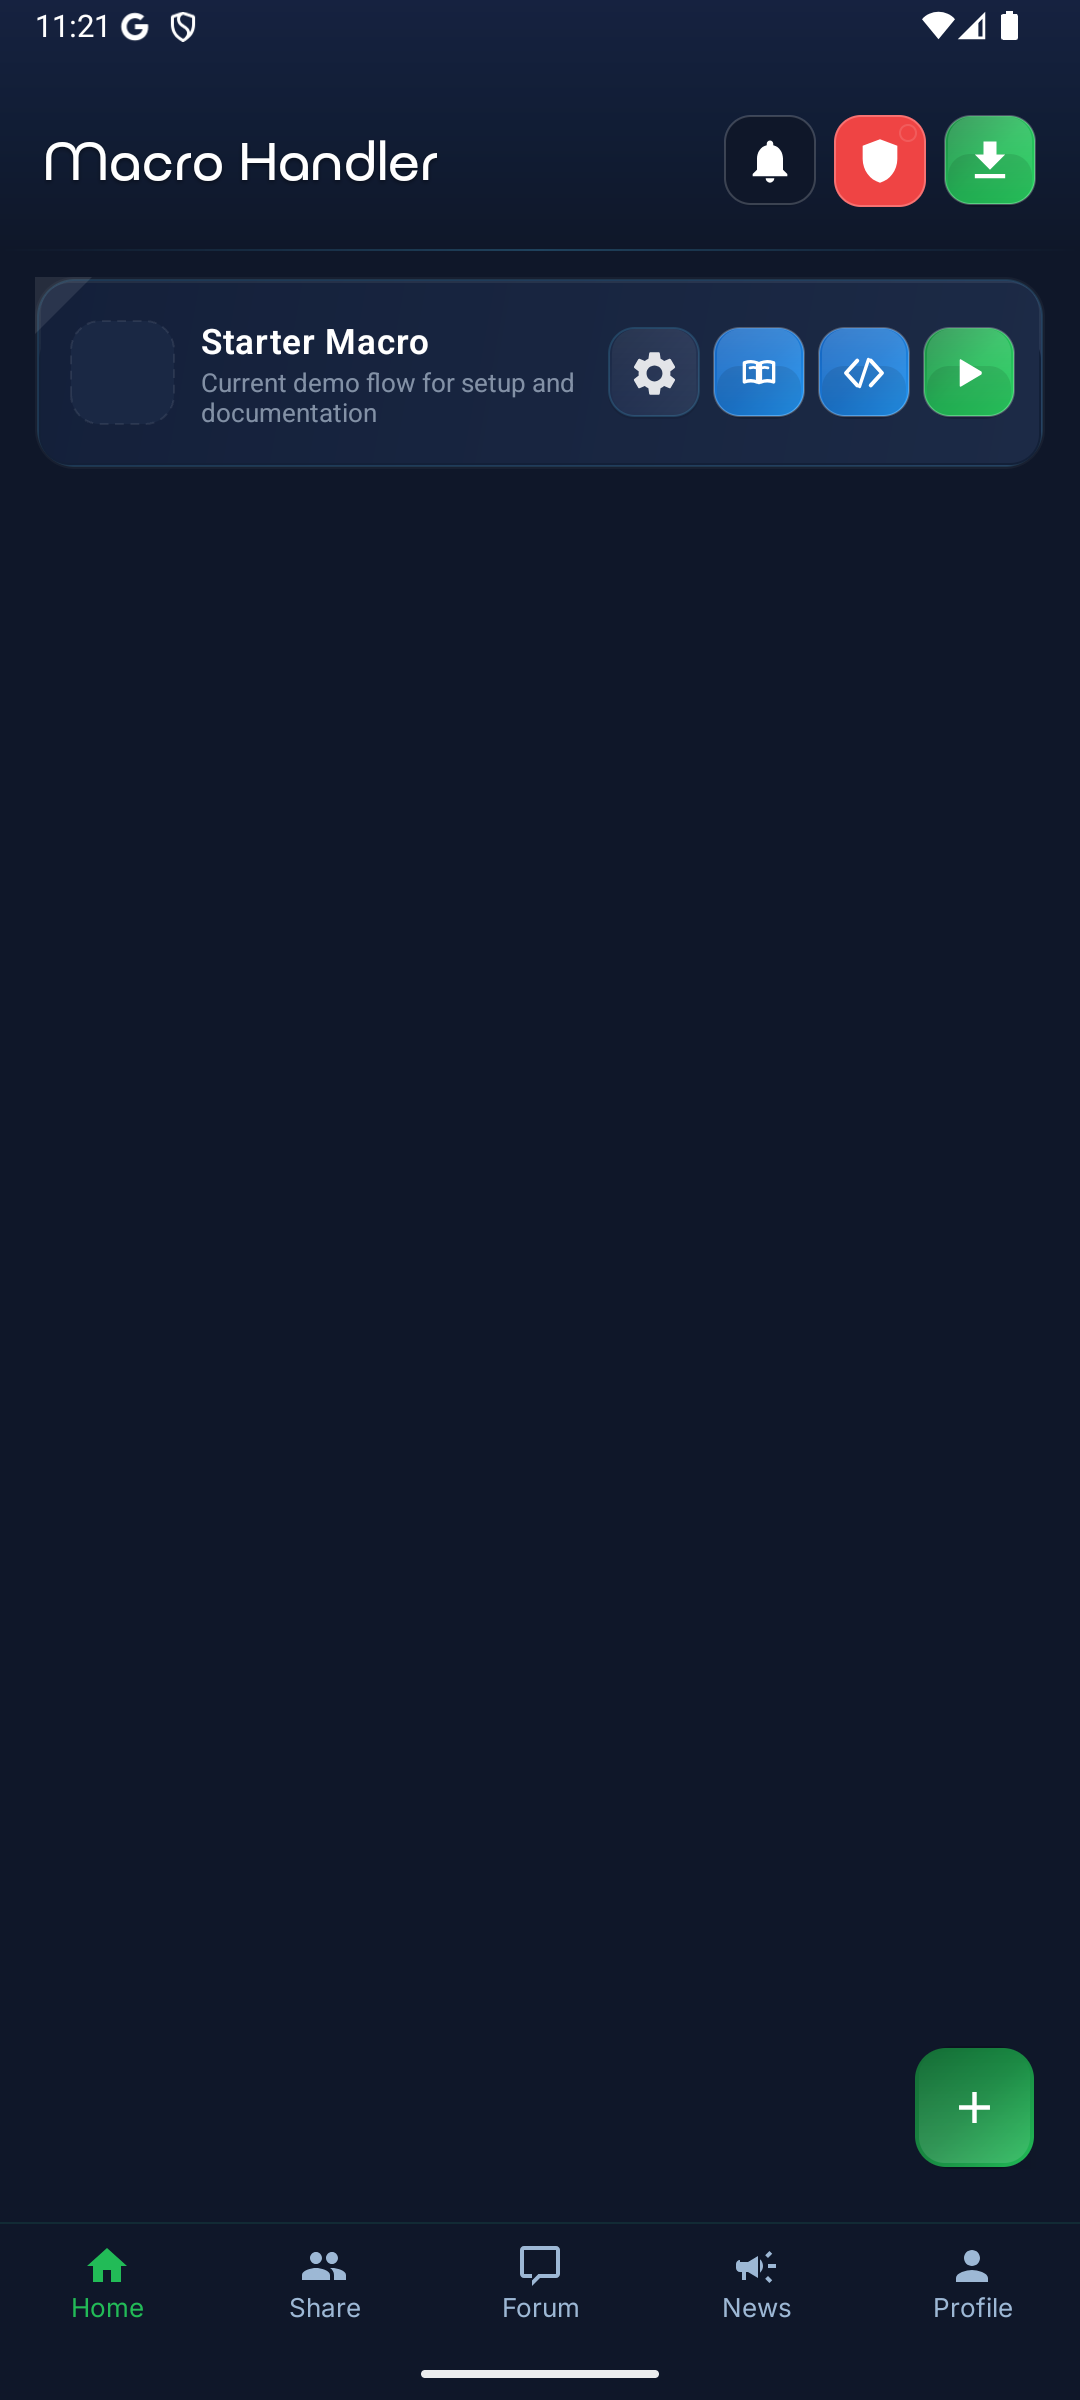
Save and Run
Hit Save in the upper-right corner. Return to the home screen, select the macro from the list, and tap Run. The Overlay panel appears on screen; use Stop on it to halt the macro.
If something failsEnable Debug Mode in Visual Builder settings and place a breakpoint on the IMAGE block. The macro will pause there so you can inspect the failure.Main Panel
Helper Panel